Building a REST API
Learn how to build a URL shortener with a REST API and PostgreSQL database
In this tutorial you will create a REST API for a URL Shortener service. In a few short minutes, you'll learn how to:
- Create REST APIs with Encore
- Use PostgreSQL databases
- Use the local development dashboard to test your app
- Create and run tests
This is the end result:
Project
To make it easier to follow along, we've laid out a trail of croissants to guide your way. Whenever you see a 🥐 it means there's something for you to do.
1. Create a service and endpoint
Create a new application by running encore app create and select Empty app as the template.
If this is the first time you're using Encore, you'll be asked if you wish to create a free account. This is needed when you want Encore to manage functionality like secrets and handle cloud deployments (which we'll use later on in the tutorial).
Now let's create a new url service.
🥐 In your application's root folder, create a directory named url containing a file named encore.service.ts.
$ mkdir url$ touch url/encore.service.ts🥐 Add the following code to url/encore.service.ts:
url/encore.service.tsimport { Service } from "encore.dev/service";

export default new Service("url");
This is how you define a service with Encore. Encore will now consider files in the url directory and all its subdirectories as part of the url service.
🥐 Create a new file url.ts in the url directory:
$ touch url/url.ts🥐 Add the following code to url/url.ts:
url/url.tsimport { api } from "encore.dev/api";
import { randomBytes } from "node:crypto";

interface URL {
  id: string; // short-form URL id
  url: string; // complete URL, in long form
}

interface ShortenParams {
  url: string; // the URL to shorten
}

// Shortens a URL.
export const shorten = api(
  { method: "POST", path: "/url", expose: true },
  async ({ url }: ShortenParams): Promise<URL> => {
    const id = randomBytes(6).toString("base64url");
    return { id, url };
  },
);
This sets up the POST /url endpoint.
🥐 Let’s see if it works! Start your app by running the following command from your app's root directory:
You should see this:
Encore development server running!

Your API is running at:     http://127.0.0.1:4000
Development Dashboard URL:  http://localhost:9400/5g288
3:50PM INF registered API endpoint endpoint=shorten path=/url service=url
🥐 Next, call your endpoint from the Local Development Dashboard at http://localhost:9400 and view a trace of the response. It should look like this:
You can also call it from the terminal:
$ curl http://localhost:4000/url -d '{"url": "https://encore.dev"}'You should see this:
{
  "id": "5cJpBVRp",
  "url": "https://encore.dev"
}
It works! There’s just one problem...
Right now, we’re not actually storing the URL anywhere. That means we can generate shortened IDs but there’s no way to get back to the original URL! We need to store a mapping from the short ID to the complete URL.
2. Save URLs in a database
Fortunately, Encore makes it really easy to set up a PostgreSQL database to store our data. To do so, we first define a database schema, in the form of a migration file.
🥐 Create a new folder named migrations inside the url folder. Then, inside the migrations folder, create an initial database migration file named 001_create_tables.up.sql. The file name format is important (it must start with 001_ and end in .up.sql).
$ mkdir url/migrations$ touch url/migrations/001_create_tables.up.sql🥐 Add the following contents to the file:
url/migrations/001_create_tables.up.sqlCREATE TABLE url (
	id TEXT PRIMARY KEY,
	original_url TEXT NOT NULL
);
🥐 Next, go back to the url/url.ts file and import the SQLDatabase class from encore.dev/storage/sqldb module by modifying the imports to look like this:
url/url.tsimport { api } from "encore.dev/api";
import { SQLDatabase } from "encore.dev/storage/sqldb";
import { randomBytes } from "node:crypto";
🥐 Now, to define the database, create an instance of the SQLDatabase class in the url service:
url/url.tsimport { api } from "encore.dev/api";
import { SQLDatabase } from "encore.dev/storage/sqldb";
import { randomBytes } from "node:crypto";

// 'url' database is used to store the URLs that are being shortened.
const db = new SQLDatabase("url", { migrations: "./migrations" });

interface URL {
    id: string; // short-form URL id
    url: string; // complete URL, in long form
}

interface ShortenParams {
    url: string; // the URL to shorten
}

// Shortens a URL.
export const shorten = api(
    { method: "POST", path: "/url", expose: true },
    async ({ url }: ShortenParams): Promise<URL> => {
        const id = randomBytes(6).toString("base64url");
        return { id, url };
    },
);
🥐 Lastly, update the shorten function to insert data into the database:
url/url.tsimport { api } from "encore.dev/api";
import { SQLDatabase } from "encore.dev/storage/sqldb";
import { randomBytes } from "node:crypto";

// 'url' database is used to store the URLs that are being shortened.
const db = new SQLDatabase("url", { migrations: "./migrations" });

interface URL {
    id: string; // short-form URL id
    url: string; // complete URL, in long form
}

interface ShortenParams {
    url: string; // the URL to shorten
}

// Shortens a URL.
export const shorten = api(
    { method: "POST", path: "/url", expose: true },
    async ({ url }: ShortenParams): Promise<URL> => {
      const id = randomBytes(6).toString("base64url");
      await db.exec`
        INSERT INTO url (id, original_url)
        VALUES (${id}, ${url})
      `;
      return { id, url };
    },
  );
Before running your application, make sure you have Docker installed and running. It's required to locally run Encore applications with databases.
🥐 Next, start the application again with encore run and Encore automatically sets up your database.
(In case your application won't run, check the databases troubleshooting guide.)
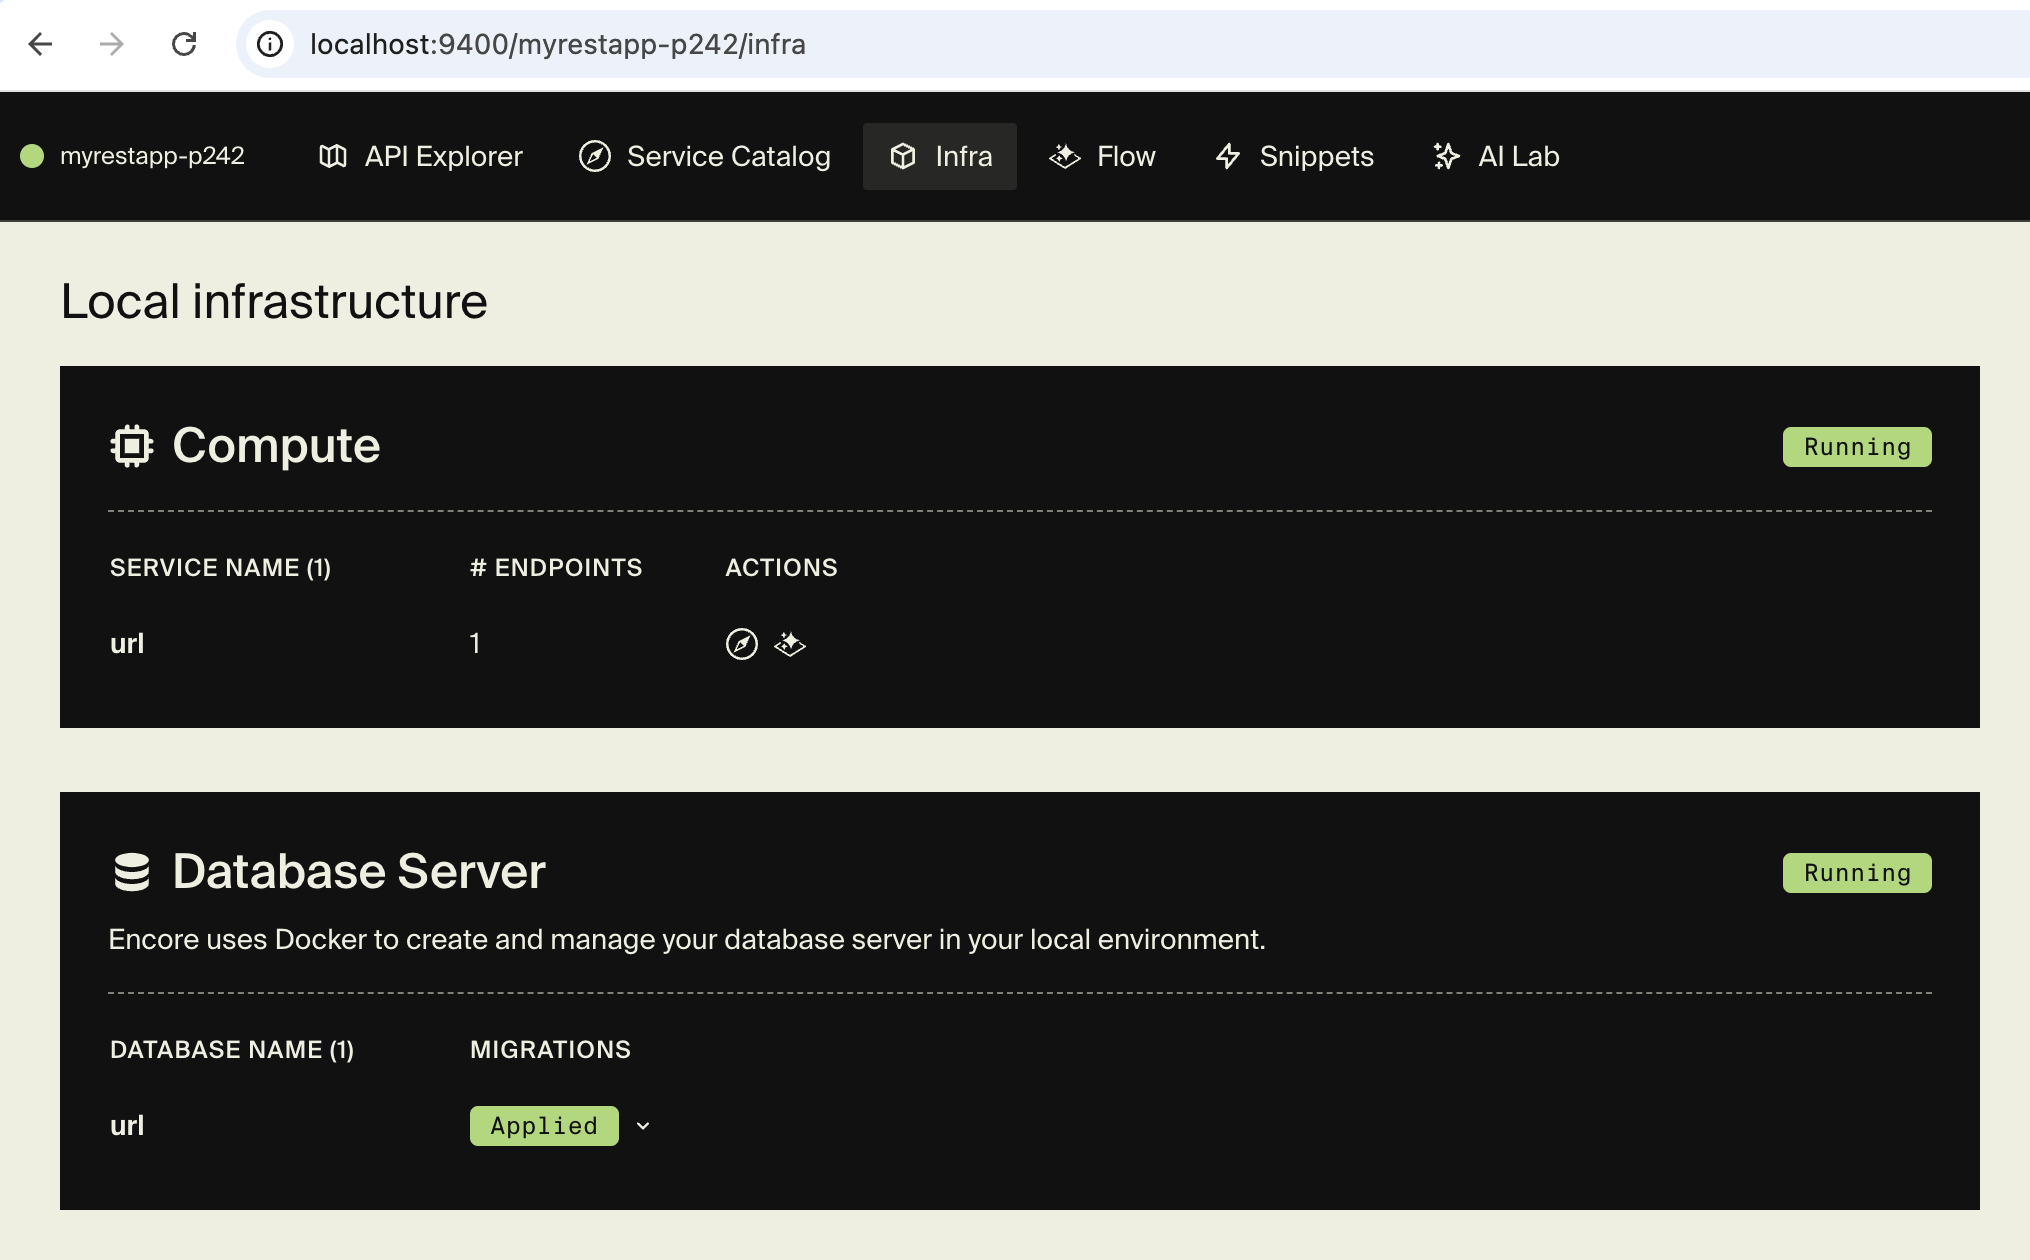
You can verify that the database was created by looking at the Infra tab in the local development dashboard at localhost:9400, which should look like this:
🥐 Now let's call the API again from the local development dashboard, or from the terminal:
$ curl http://localhost:4000/url -d '{"url": "https://encore.dev"}'🥐 Finally, let's verify that it was saved in the database. You can do this by checking the trace in the local development dashboard, or you can run encore db shell url from the app root directory and inputting select * from url;:
That was easy!
3. Add endpoint to retrieve URLs
To complete our URL shortener API, let’s add the endpoint to retrieve a URL given its short id.
🥐 Add this endpoint to url/url.ts:
url/url.tsimport { api, APIError } from "encore.dev/api";
import { SQLDatabase } from "encore.dev/storage/sqldb";
import { randomBytes } from "node:crypto";

// 'url' database is used to store the URLs that are being shortened.
const db = new SQLDatabase("url", { migrations: "./migrations" });

interface URL {
    id: string; // short-form URL id
    url: string; // complete URL, in long form
}

interface ShortenParams {
    url: string; // the URL to shorten
}

// Shortens a URL.
export const shorten = api(
    { method: "POST", path: "/url", expose: true },
    async ({ url }: ShortenParams): Promise<URL> => {
      const id = randomBytes(6).toString("base64url");
      await db.exec`
        INSERT INTO url (id, original_url)
        VALUES (${id}, ${url})
      `;
      return { id, url };
    },
  );

  // Get retrieves the original URL for the id.
export const get = api(
    { expose: true, auth: false, method: "GET", path: "/url/:id" },
    async ({ id }: { id: string }): Promise<URL> => {
      const row = await db.queryRow`
          SELECT original_url FROM url WHERE id = ${id}
      `;
      if (!row) throw APIError.notFound("url not found");
      return { id, url: row.original_url };
    }
  );
Encore uses the /url/:id syntax to represent a path with a parameter. The id name corresponds to the parameter name in the function signature. In this case it is of type string, but you can also use other built-in types like number or boolean if you want to restrict the values.
🥐 We can make sure it works by reviewing the endpoint in the Service Catalog in the local development dashboard, where we can call it using the id you got in the previous step:
You can also call it directly from the terminal:
You should now see this:
{
  "id": "your-id-from-the-previous-step",
  "url": "https://encore.dev"
}
It works! That's how you build REST APIs and use PostgreSQL databases in Encore.
4. Add a test
Before deployment, it is good practice to have tests to assure that the service works properly. Such tests including database access are easy to write.
🥐 Let's start by adding the vitest package to your project:
Vitest is a testing framework that works great with Encore but you can use another TypeScript testing framework if you like.
🥐 Next we need to add a test script to our package.json:
package.json"scripts": {
  "test": "vitest"
},
We've prepared a test to check that the whole cycle of shortening the URL, storing and then retrieving the original URL works.
🥐 Save this in a separate file url/url.test.ts.
url/url.test.tsimport { describe, expect, test } from "vitest";
import { get, shorten } from "./url";

describe("shorten", () => {
  test("getting a shortened url should give back the original", async () => {
    const resp = await shorten({ url: "https://example.com" });
    const url = await get({ id: resp.id });
    expect(url.url).toBe("https://example.com");
  });
});
🥐 Now run encore test to verify that it's working.
If you use the local development dashboard (localhost:9400), you can even see traces for tests.
5. Deploy
Encore supports building Docker images directly from the CLI, which can then be self-hosted on your own infrastructure of choice.
If your app is using infrastructure resources, such as SQL databases, Pub/Sub, or metrics, you will need to configure your Docker image with the necessary configuration. Our URL shortener makes use of a PostgreSQL database, so we'll need to supply a runtime configuration so that our app knows how to connect to the database in the cloud.
🥐 Create a new file infra-config.json in the root of your project with the following contents:
infra-config.json{
   "$schema": "https://encore.dev/schemas/infra.schema.json",
   "sql_servers": [
      {
         "host": "my-db-host:5432",
         "databases": {
            "url": {
               "username": "my-db-owner",
                "password": {"$env": "DB_PASSWORD"}
            }
         }
      }
   ]
}
The values in this configuration are just examples, you will need to replace them with the correct values for your database. Take a look at our guide for deploying an Encore app with a PostgreSQL database to Digital Ocean for more information.
🥐 Build a Docker image by running encore build docker --config infra-config.json url-shortener:v1.0.
This will compile your application using the host machine and then produce a Docker image containing the compiled application.
🥐 Upload the Docker image to the cloud provider of your choice and run it.
The Encore platform provides automated infrastructure and DevOps. Deploy to a free Encore Cloud development environment, or connect your own AWS or GCP account for production.
Create account
Before deploying with the Encore platform, your app needs to be linked to a free Encore account. If you created the app while logged in, it's already linked, and you can move on to the next step.
Otherwise, sign up or log in and register the app by following steps 1 to 3 of Already have a local app?, then continue below.
Commit changes
The final step before you deploy is to commit all changes to the project repo.
🥐 Commit the new files to the project's git repo and trigger a deploy to a free Encore Cloud development environment by running:
$ git add -A .$ git commit -m 'Initial commit'$ git push encoreEncore will now build and test your app, provision the needed infrastructure, and deploy your application to the cloud.
After triggering the deployment, you will see a URL where you can view its progress in the Encore platform dashboard. It will look something like: https://app.encore.dev/$APP_ID/envs/staging/deploys/...
From there you can also see metrics, traces, and connect your own AWS or GCP account to use for production deployment.
Now you have a fully fledged backend running in the cloud, well done!
Celebrate with fireworks
Now that your app is running in the cloud, let's celebrate with some fireworks:
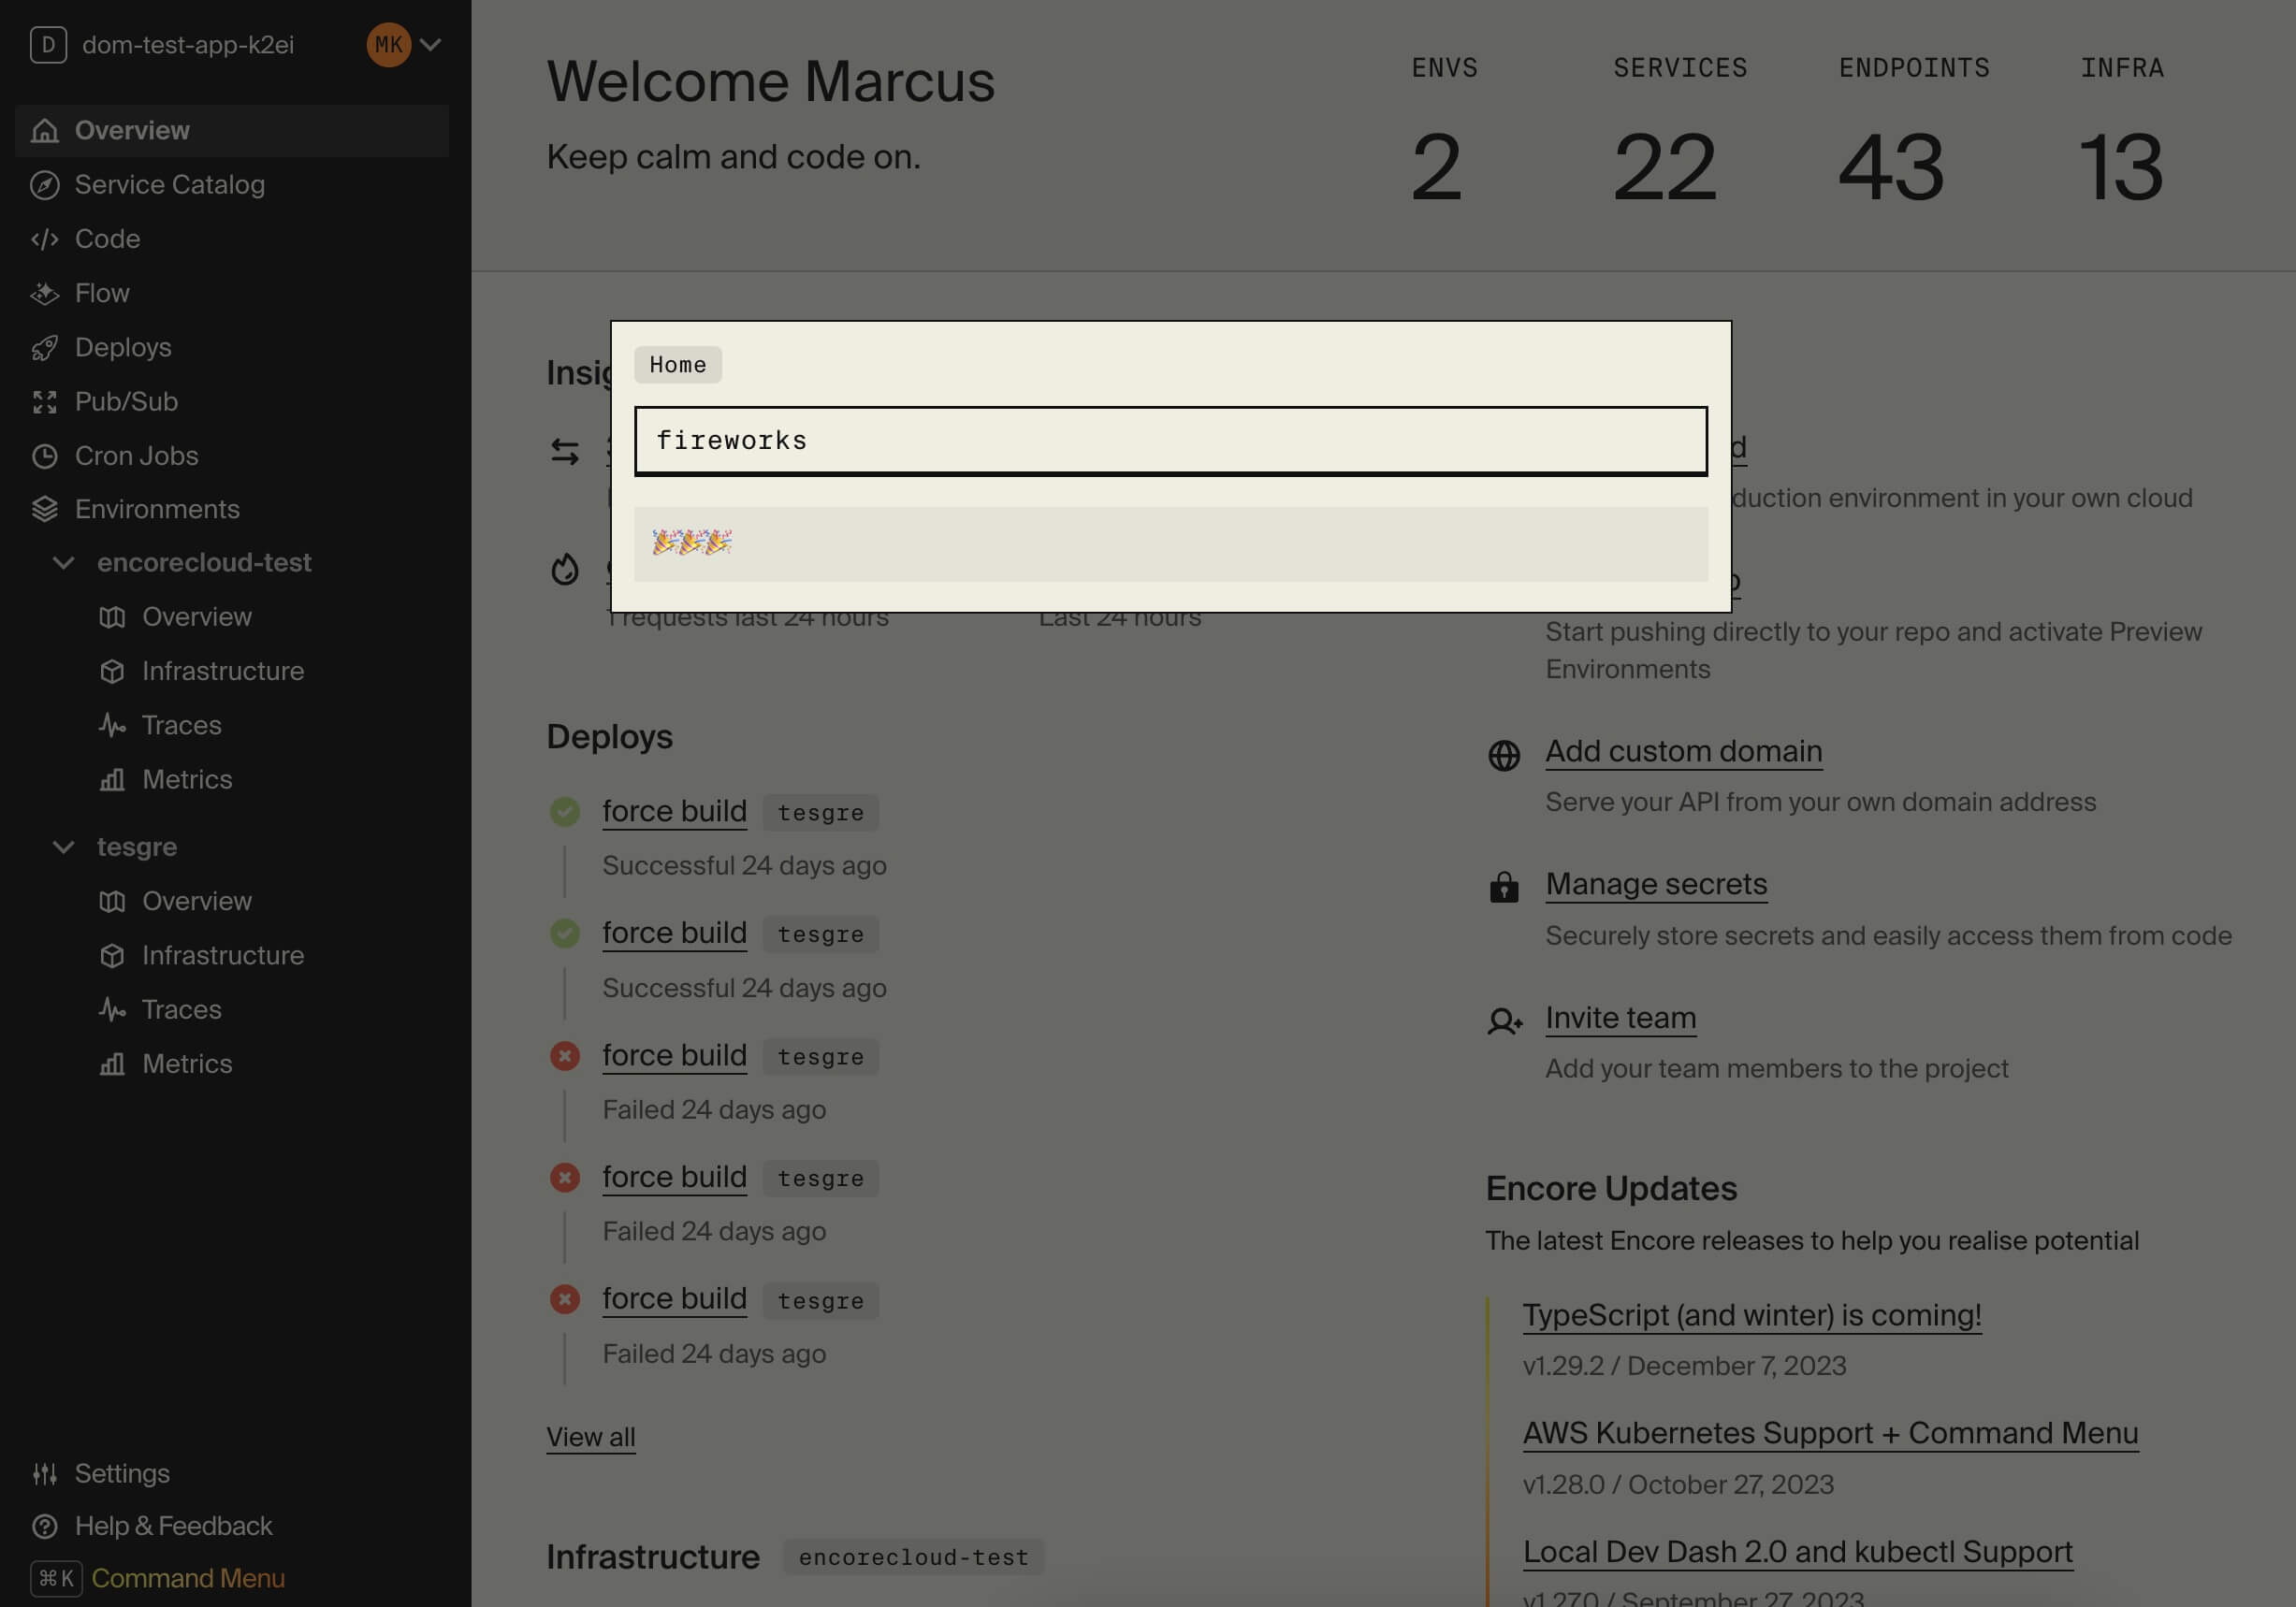
🥐 In the Cloud Dashboard, open the Command Menu by pressing Cmd + K (Mac) or Ctrl + K (Windows/Linux).
From here you can easily access all Cloud Dashboard features and for example jump straight to specific services in the Service Catalog or view Traces for specific endpoints.
🥐 Type fireworks in the Command Menu and press enter. Sit back and enjoy the show!
🥐 A great next step is to integrate with GitHub. Once you've linked with GitHub, Encore will automatically start building and running tests against your Pull Requests.
What's next
Now that you know how to build a backend with a database, you're ready to let your creativity flow and begin building your next great idea!
We're excited to hear what you're going to build with Encore, join the pioneering developer community on Discord and share your story.