Encore has great support for GraphQL with its type-safe approach to building APIs.
Encore's automatic tracing also makes it easy to find and fix
performance issues that often arise in GraphQL APIs (like the N+1 problem).
In this tutorial we will build a GraphQL API using Apollo and Encore.ts.
The final code will look like this:
Project
Please note
To make it easier to follow along, we've laid out a trail of croissants to guide your way.
Whenever you see a 🥐 it means there's something for you to do.
🥐 Create a new application by running encore app create and select Empty app as the template.
If this is the first time you're using Encore, you'll be asked if you wish to create a free account. This is optional, but is needed when you want Encore to manage functionality like secrets and handle cloud deployments (which we'll use later on in the tutorial).
🥐 Next, create a codegen.yml file in the application root containing:
codegen.yml
# This configuration file tells GraphQL Code Generator how to generate types based on our schema.schema:'./schema.graphql'generates:# Specify where our generated types should live../graphql/__generated__/resolvers-types.ts:plugins:-'typescript'-'typescript-resolvers'config:useIndexSignature:true
🥐 Run the code generation script to generate the resolver types:
$ npm run generate
The types will be written to graphql/__generated__/resolvers-types.ts and will contain a bunch of types that we can use when implementing the resolvers.
Let's create a simple book service that we can later query using GraphQL. It's a good idea to to make the GraphQL library query Encore endpoints because that will result in traces being created for each called endpoint. Having tracing makes it easy to find and fix performance issues that often arise in GraphQL APIs.
🥐 In your application's root folder, create a directory named book containing a file named encore.service.ts.
$ mkdir book
$ touch book/encore.service.ts
🥐 Add the following code to book/encore.service.ts:
book/encore.service.ts
import { Service } from"encore.dev/service";
exportdefaultnewService("book");
This is how you define a service with Encore. Encore will now consider files in the book directory and all its subdirectories as part of the book service.
🥐 Next, create a book/book.ts file containing:
book/book.ts
import { api, APIError } from"encore.dev/api";
import { Book } from"../graphql/__generated__/resolvers-types";
constdb: Book[] = [
{
title: "To Kill a Mockingbird",
author: "Harper Lee",
},
{
title: "1984",
author: "George Orwell",
},
{
title: "The Great Gatsby",
author: "F. Scott Fitzgerald",
},
{
title: "Moby-Dick",
author: "Herman Melville",
},
{
title: "Pride and Prejudice",
author: "Jane Austen",
},
];
exportconst list = api(
{ expose: true, method: "GET", path: "/books" },
async (): Promise<{ books: Book[] }> => {
return { books: db };
},
);
// Omit the "__typename" field from the requesttypeAddRequest = Omit<Required<Book>, "__typename">;
exportconst add = api(
{ expose: true, method: "POST", path: "/book" },
async (book: AddRequest): Promise<{ book: Book }> => {
if (db.some((b) => b.title === book.title)) {
throwAPIError.alreadyExists(
`Book "${book.title}" is already in database`,
);
}
db.push(book);
return { book };
},
);
The book service contains two endpoint, one for listing all books and another to add a new book to the database. Our "database" is hardcoded just to limit the scope of this example. Take a look at the Using SQL databases docs to learn how to set up and use a database.
We get the Book type from the generated resolver types. This will make it easier later when we create the resolver functions.
Now it's time to create our Encore service that will provide the GraphQL API.
🥐 In the graphql directory, add a encore.service.ts file with the following content:
graphql/encore.service.ts
import { Service } from"encore.dev/service";
exportdefaultnewService("graphql");
Now, we need to create resolvers that call the book service. Since the GraphQL API uses the same types as the Encore API exposes (we import types form resolvers-types.ts in book.ts), our resolver can just be thin wrapper around out API endpoints.
🥐 Create the directory resolvers in the graphql directory. In the resolvers directory we want to place three files: index.ts, queries.ts and mutations.ts:
This creates an Raw API endpoint available on /graphql. In the endpoint we use ApolloServer to handle the GraphQL queries and mutations. We then return the response to the client.
If we were to use another GraphQL library other than Apollo, the concept would still be the same:
Take client requests with a Raw endpoint.
Pass along the request and response objects to the GraphQL library of your choice.
Use the library to handle the GraphQL queries and mutations.
Return the GraphQL response from the Raw endpoint.
Encore supports building Docker images directly from the CLI, which can then be self-hosted on your own infrastructure of choice.
If your app is using infrastructure resources, such as SQL databases, Pub/Sub, or metrics, you will need to supply a runtime configuration your Docker image.
🥐 Build a Docker image by running encore build docker graphql:v1.0.
This will compile your application using the host machine and then produce a Docker image containing the compiled application.
🥐 Upload the Docker image to the cloud provider of your choice and run it.
The Encore platform provides automated infrastructure and DevOps. Deploy to a free Encore Cloud development environment, or connect your own AWS or GCP account for production.
Before deploying with the Encore platform, you need to have a free Encore account and link your app to the platform. If you already have an account, you can move on to the next step.
If you don’t have an account, the simplest way to get set up is by running encore app create and selecting Y when prompted to create a new account. Once your account is set up, continue creating a new app, selecting the empty app template.
After creating the app, copy your project files into the new app directory, ensuring that you do not replace the encore.app file (this file holds a unique id which links your app to the platform).
The final step before you deploy is to commit all changes to the project repo.
🥐 Push your changes and deploy your application to a free Encore Cloud development environment by running:
$ git add -A .
$ git commit -m 'Initial commit'
$ git push encore
Encore will now build and test your app, provision the needed infrastructure, and deploy your application to the cloud.
After triggering the deployment, you will see a URL where you can view its progress in the Encore platform dashboard. It will look something like: https://app.encore.dev/$APP_ID/deploys/...
From there you can also see metrics, traces, link your app to a GitHub repo to get automatic deploys on new commits, and connect your own AWS or GCP account to use for production deployment.
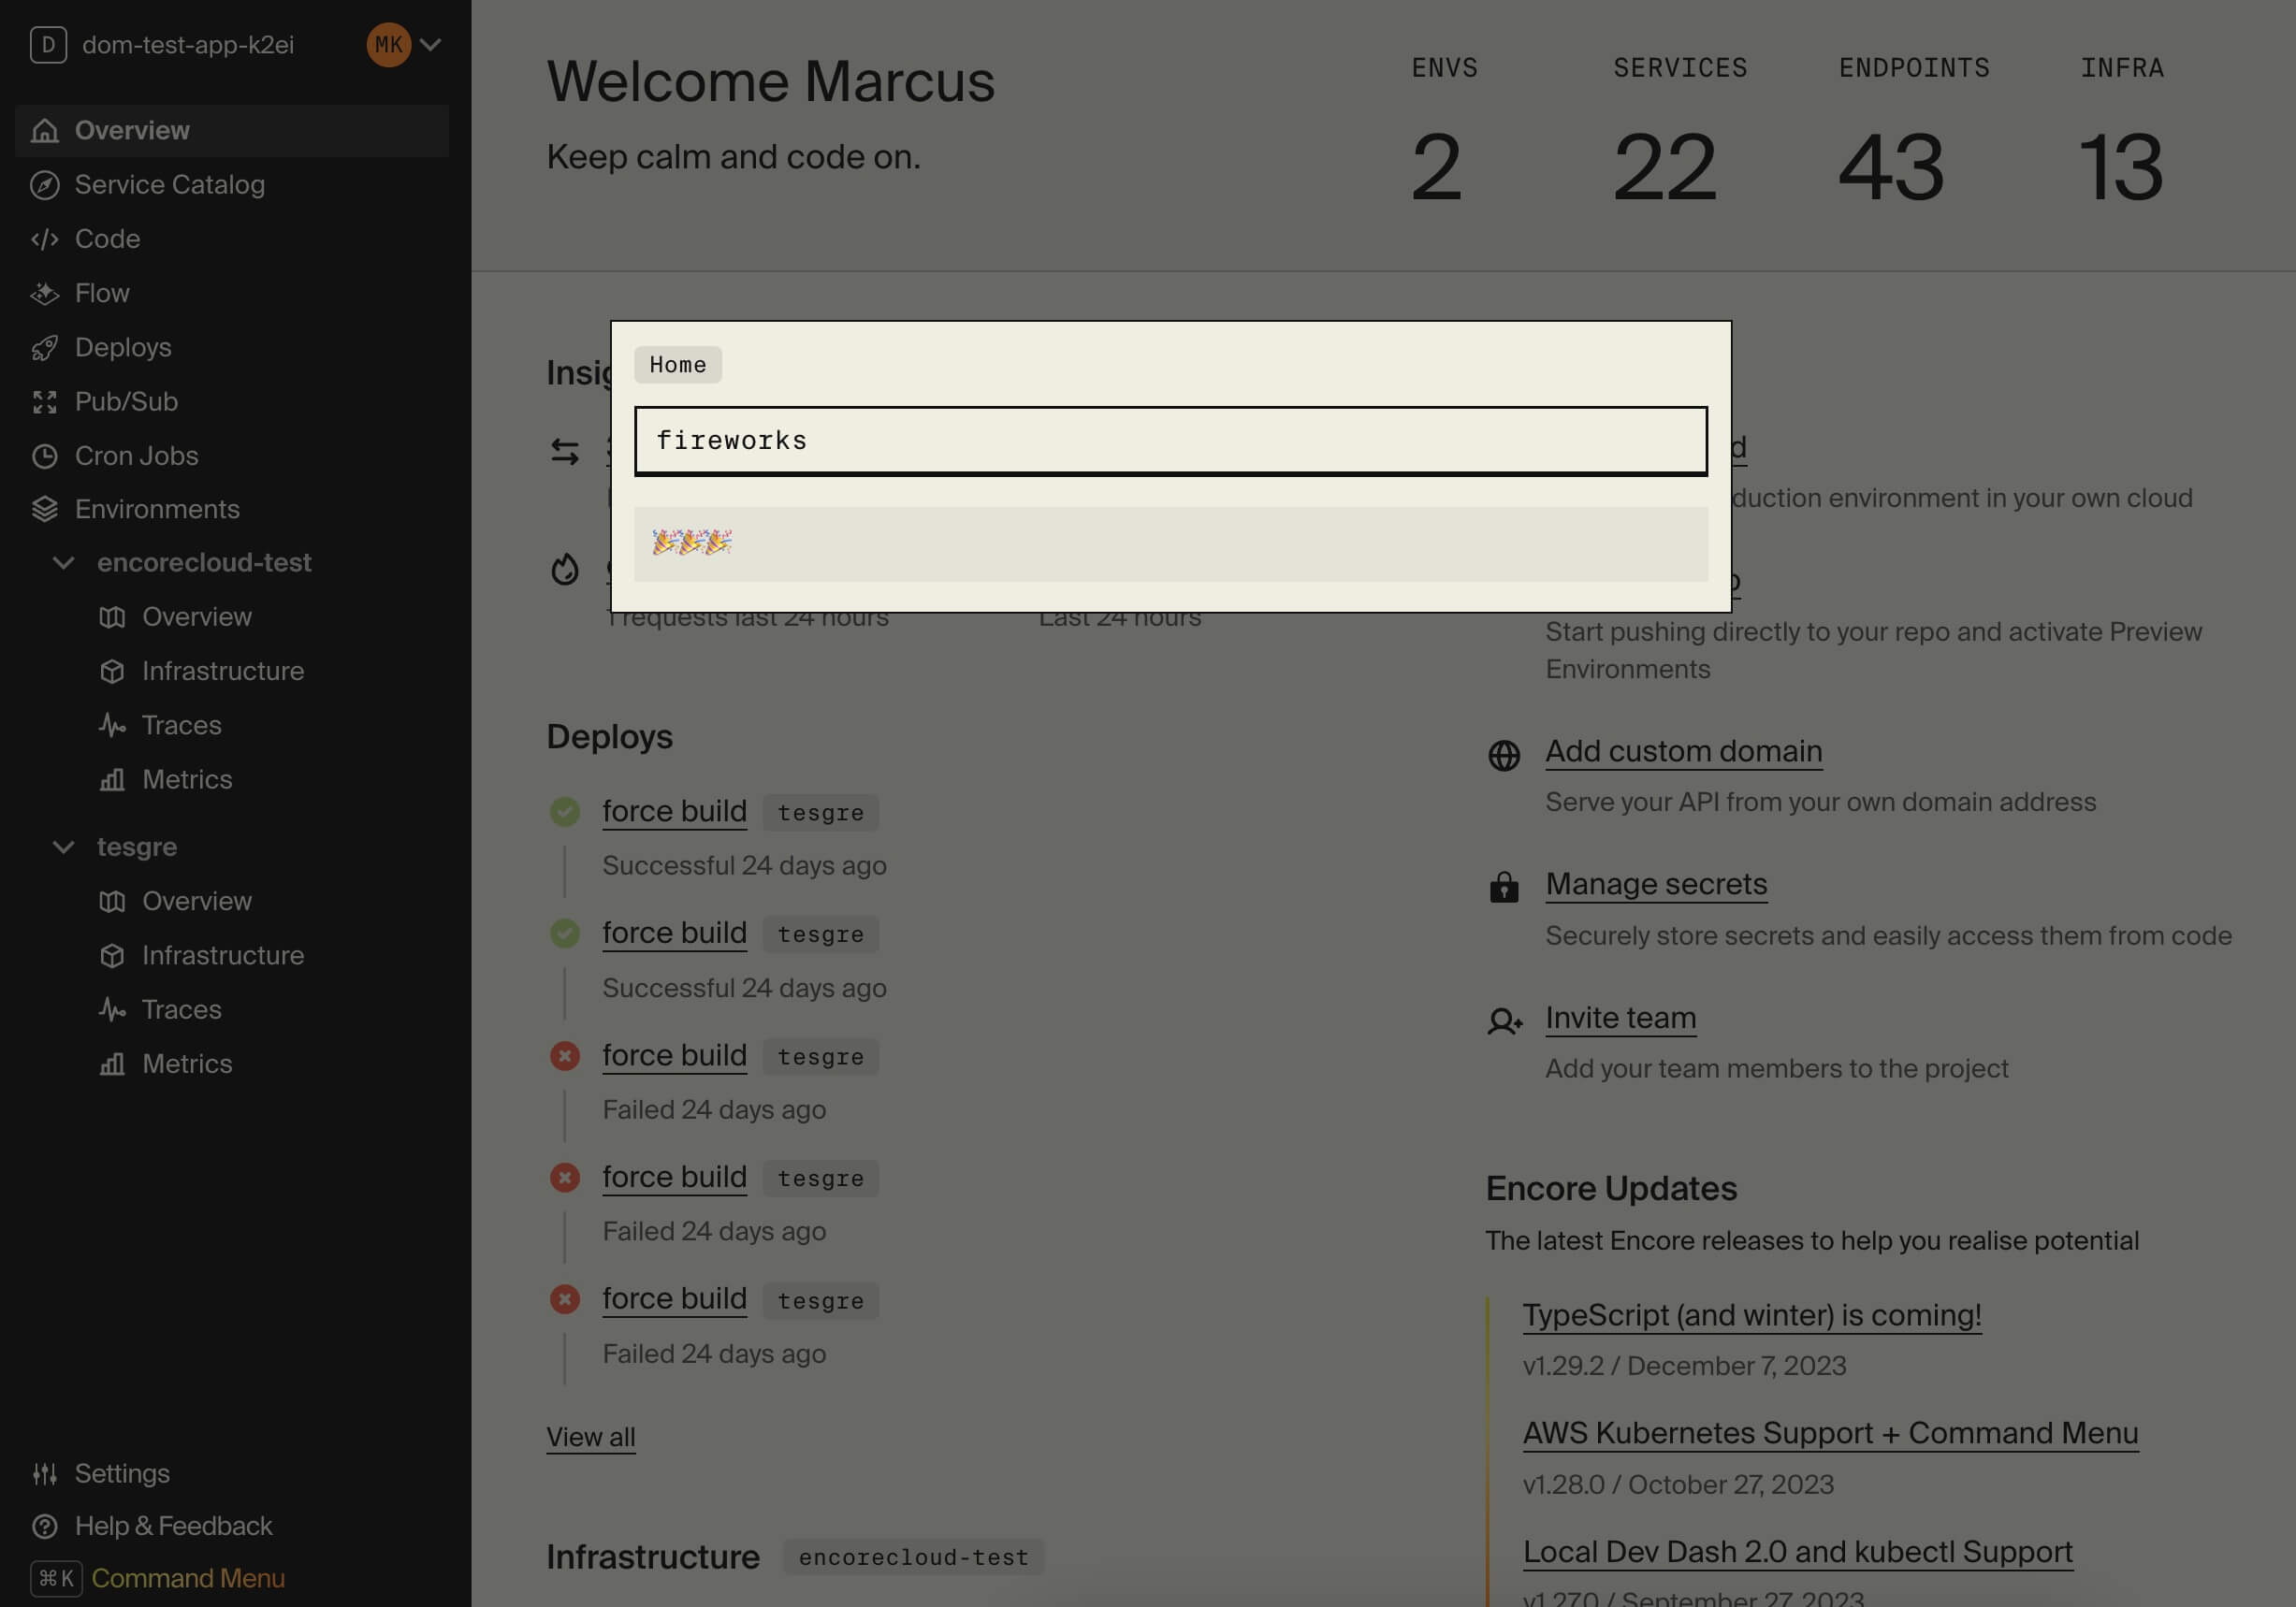
Now that your app is running in the cloud, let's celebrate with some fireworks:
🥐 In the Cloud Dashboard, open the Command Menu by pressing Cmd + K (Mac) or Ctrl + K (Windows/Linux).
From here you can easily access all Cloud Dashboard features and for example jump straight to specific services in the Service Catalog or view Traces for specific endpoints.
🥐 Type fireworks in the Command Menu and press enter. Sit back and enjoy the show!
We've now built a GraphQL API gateway that forwards requests to the application's underlying Encore services in a type-safe way with minimal boilerplate.
Note that the concepts discussed here are general and can be easily adapted to any GraphQL schema.
Whenever you make a change to the schema or configuration, re-run npm run generate to
regenerate the resolver types.