In this guide you will learn how to set up an Encore auth handler that makes use of
Auth0 in order to add a seamless signup and login experience to your web app.
For all the code and instructions of how to clone and run this example locally, see the Auth0 Example in our examples repo.
$ go get github.com/coreos/go-oidc/v3/oidc golang.org/x/oauth2
Create a folder and naming it auth, this is where our authentication related backend code will live.
Next, let's set up the Auth0 Authenticator that will be used by our auth handler. The Authenticator has a method to configure and return OAuth2 and oidc clients, and another one to verify an ID Token.
Create auth/authenticator.go and paste the following:
auth/authenticator.go
package auth
import (
"context""crypto/rand""encoding/base64""encore.dev/config""errors""github.com/coreos/go-oidc/v3/oidc""golang.org/x/oauth2"
)
type Auth0Config struct {
ClientID config.String
Domain config.String
CallbackURL config.String
LogoutURL config.String
}
var cfg = config.Load[*Auth0Config]()
var secrets struct {
Auth0ClientSecret string
}
// Authenticator is used to authenticate our users.type Authenticator struct {
*oidc.Provider
oauth2.Config
}
// New instantiates the *Authenticator.funcNew() (*Authenticator, error) {
provider, err := oidc.NewProvider(
context.Background(),
"https://"+cfg.Domain()+"/",
)
if err != nil {
returnnil, err
}
conf := oauth2.Config{
ClientID: cfg.ClientID(),
ClientSecret: secrets.Auth0ClientSecret,
RedirectURL: cfg.CallbackURL(),
Endpoint: provider.Endpoint(),
Scopes: []string{oidc.ScopeOpenID, "profile", "email"},
}
return &Authenticator{
Provider: provider,
Config: conf,
}, nil
}
// VerifyIDToken verifies that an *oauth2.Token is a valid *oidc.IDToken.func(a *Authenticator) VerifyIDToken(ctx context.Context, token *oauth2.Token) (*oidc.IDToken, error) {
rawIDToken, ok := token.Extra("id_token").(string)
if !ok {
returnnil, errors.New("no id_token field in oauth2 token")
}
oidcConfig := &oidc.Config{
ClientID: a.ClientID,
}
return a.Verifier(oidcConfig).Verify(ctx, rawIDToken)
}
funcgenerateRandomState() (string, error) {
b := make([]byte, 32)
_, err := rand.Read(b)
if err != nil {
return"", err
}
state := base64.StdEncoding.EncodeToString(b)
return state, nil
}
The Authenticator class requires some values that are specific your Auth0 application, namely the ClientID, ClientSecret, Domain, CallbackURL and LogoutURL.
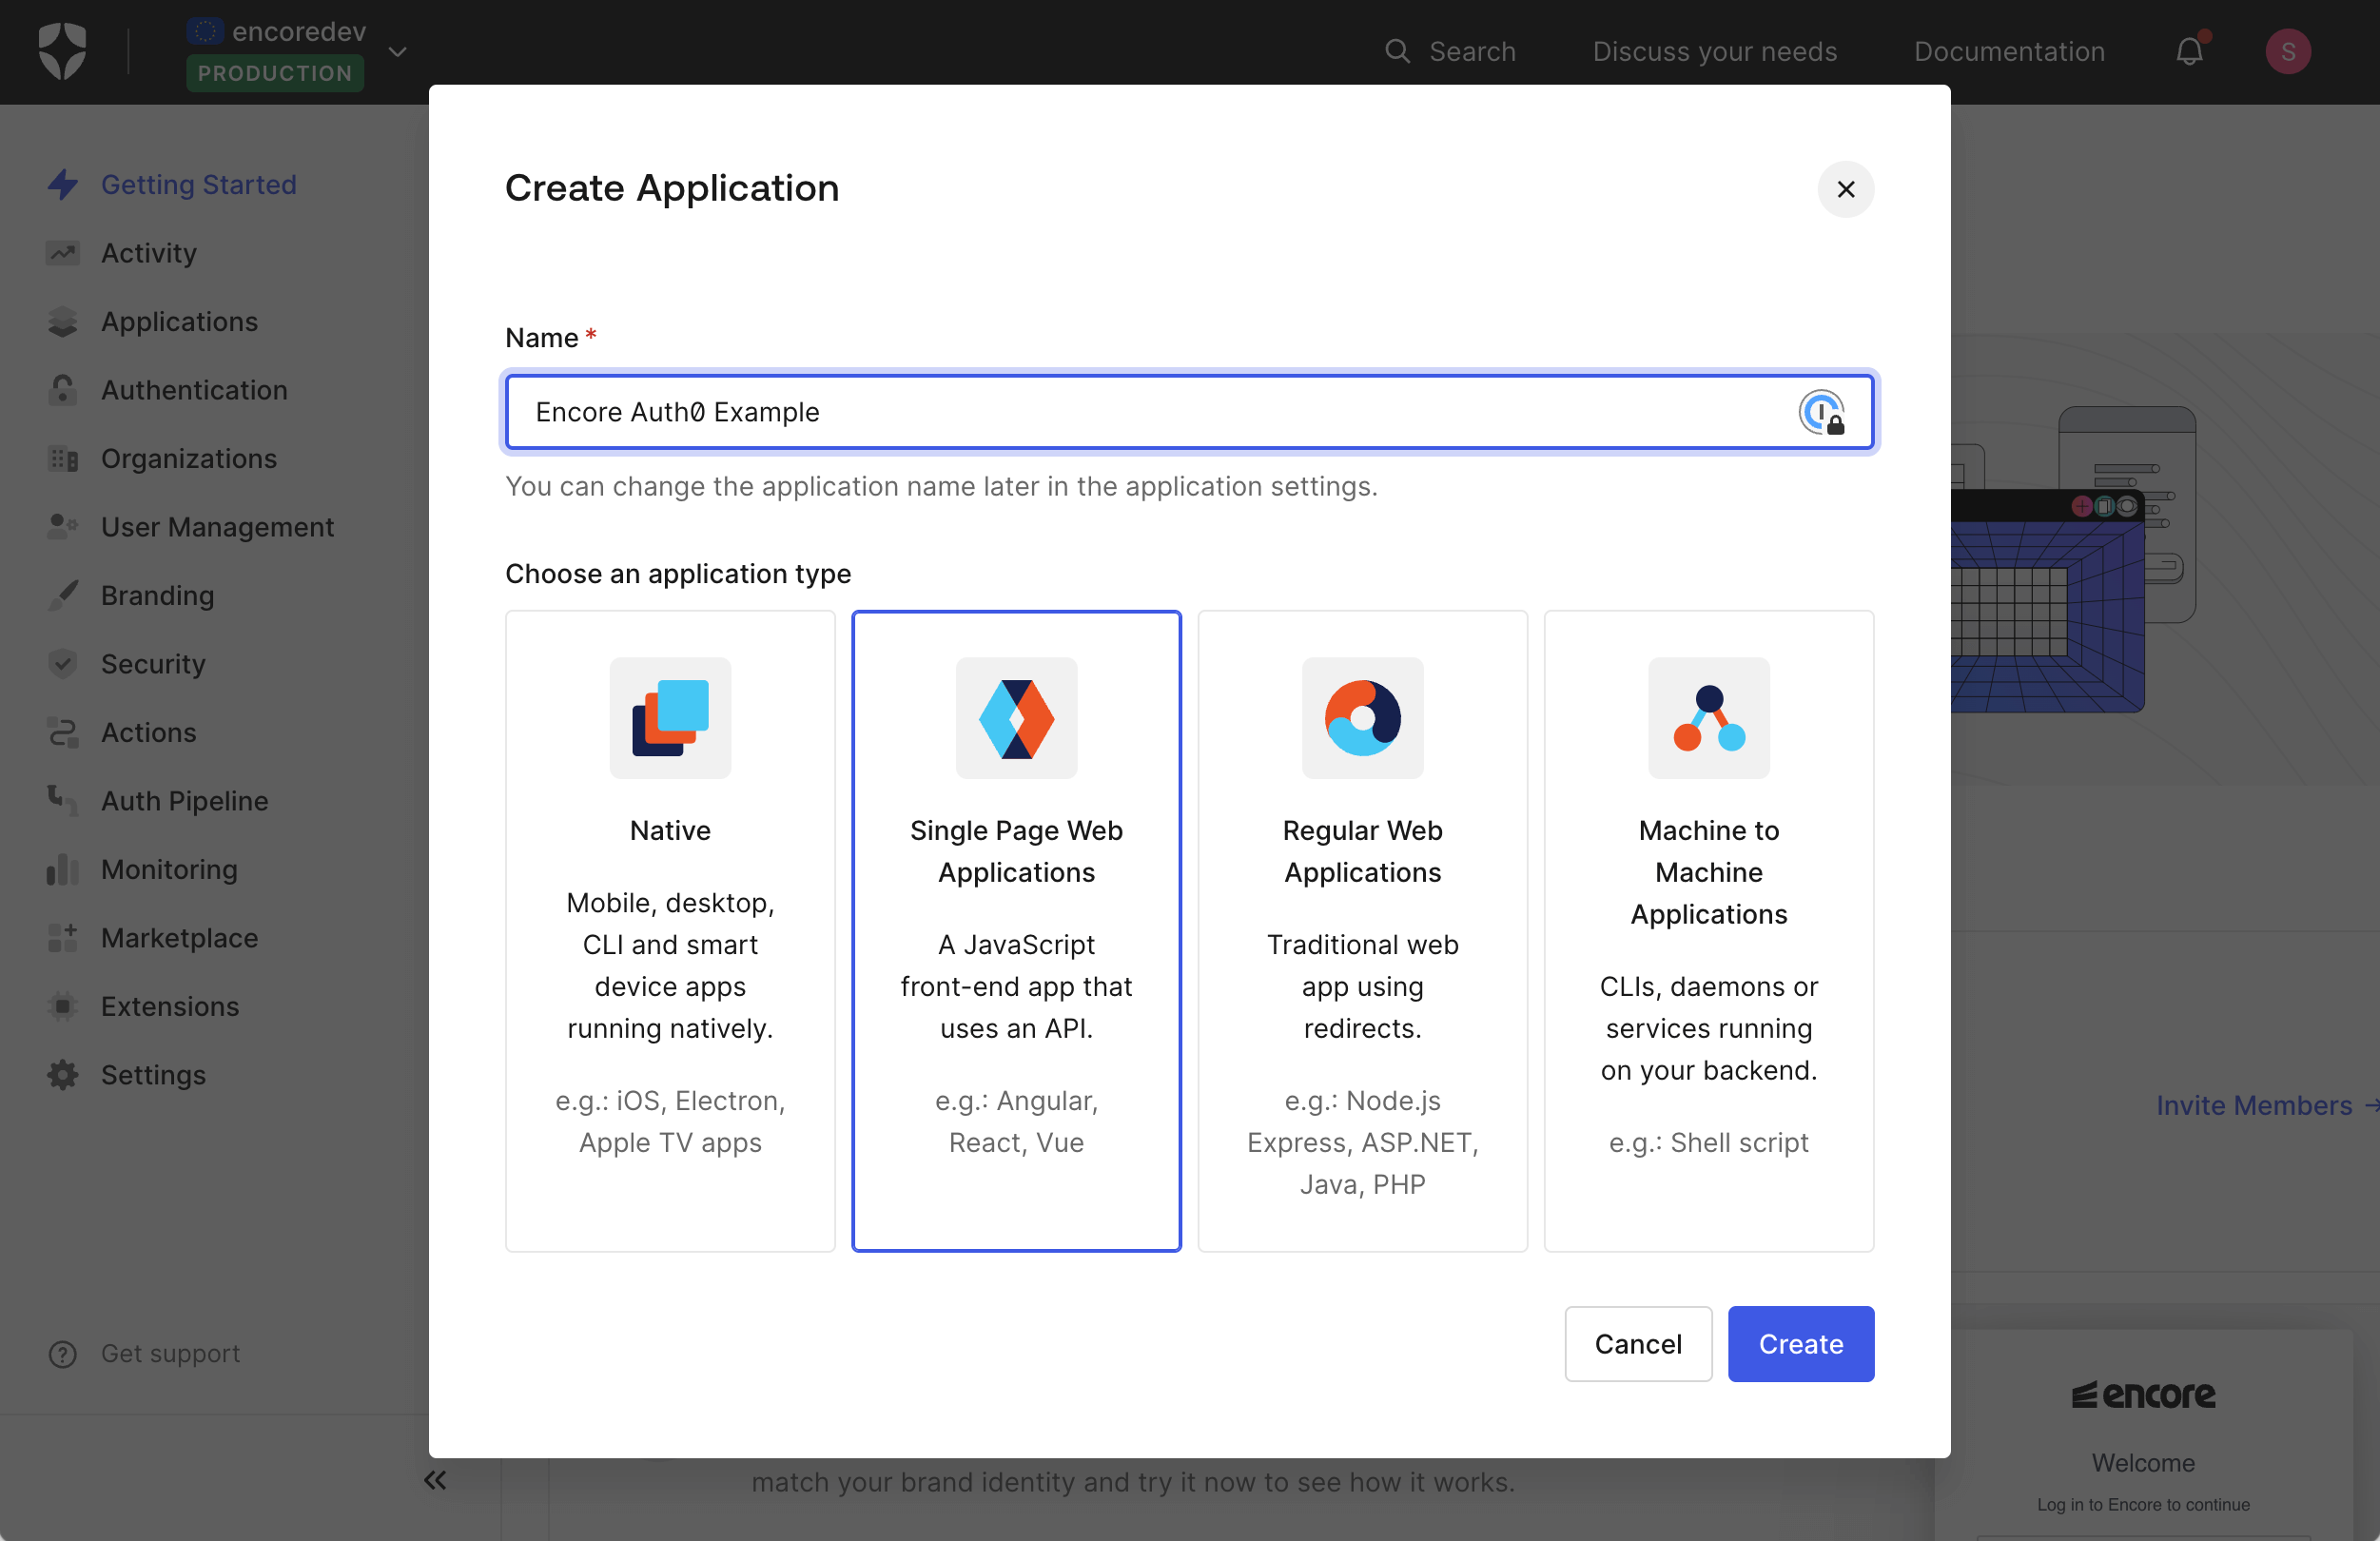
Create an Auth0 account if you haven't already. Then, in the Auth0 dashboard, create a new Single Page Web Applications.
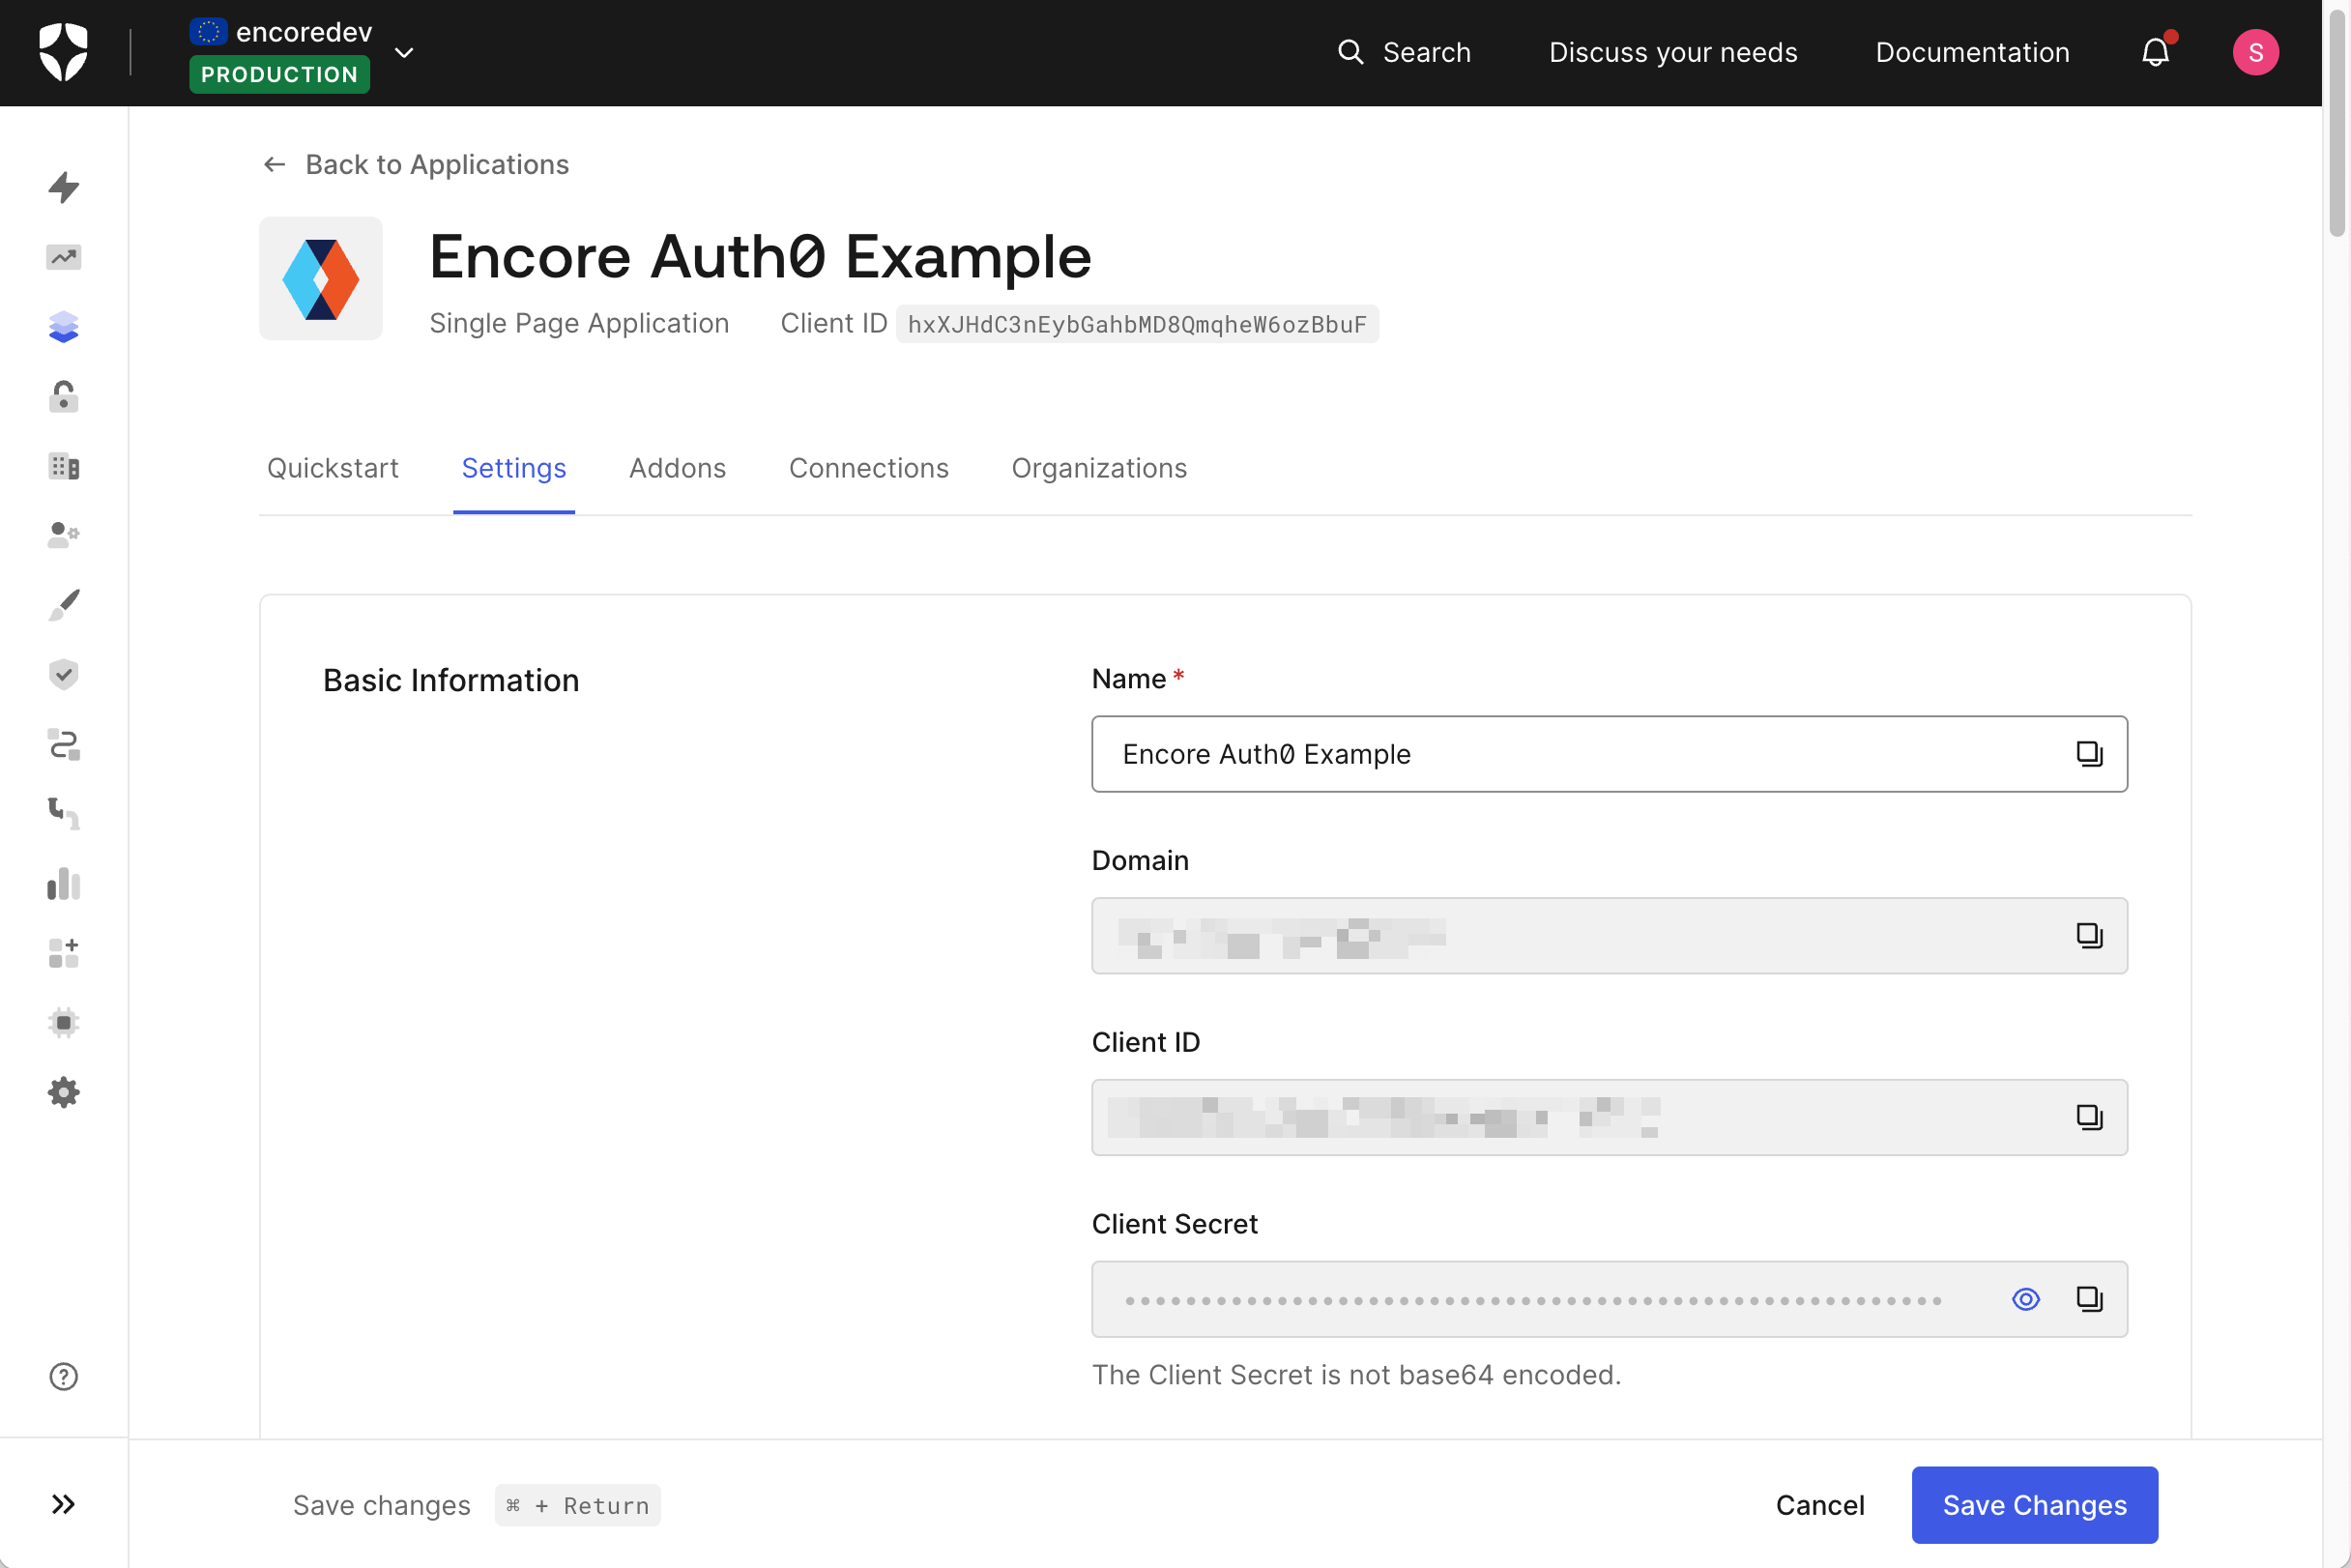
Next, go to the Application Settings section. There you will find the Domain, Client ID, and Client Secret that you need to communicate with Auth0.
Copy these values, we will need them shortly.
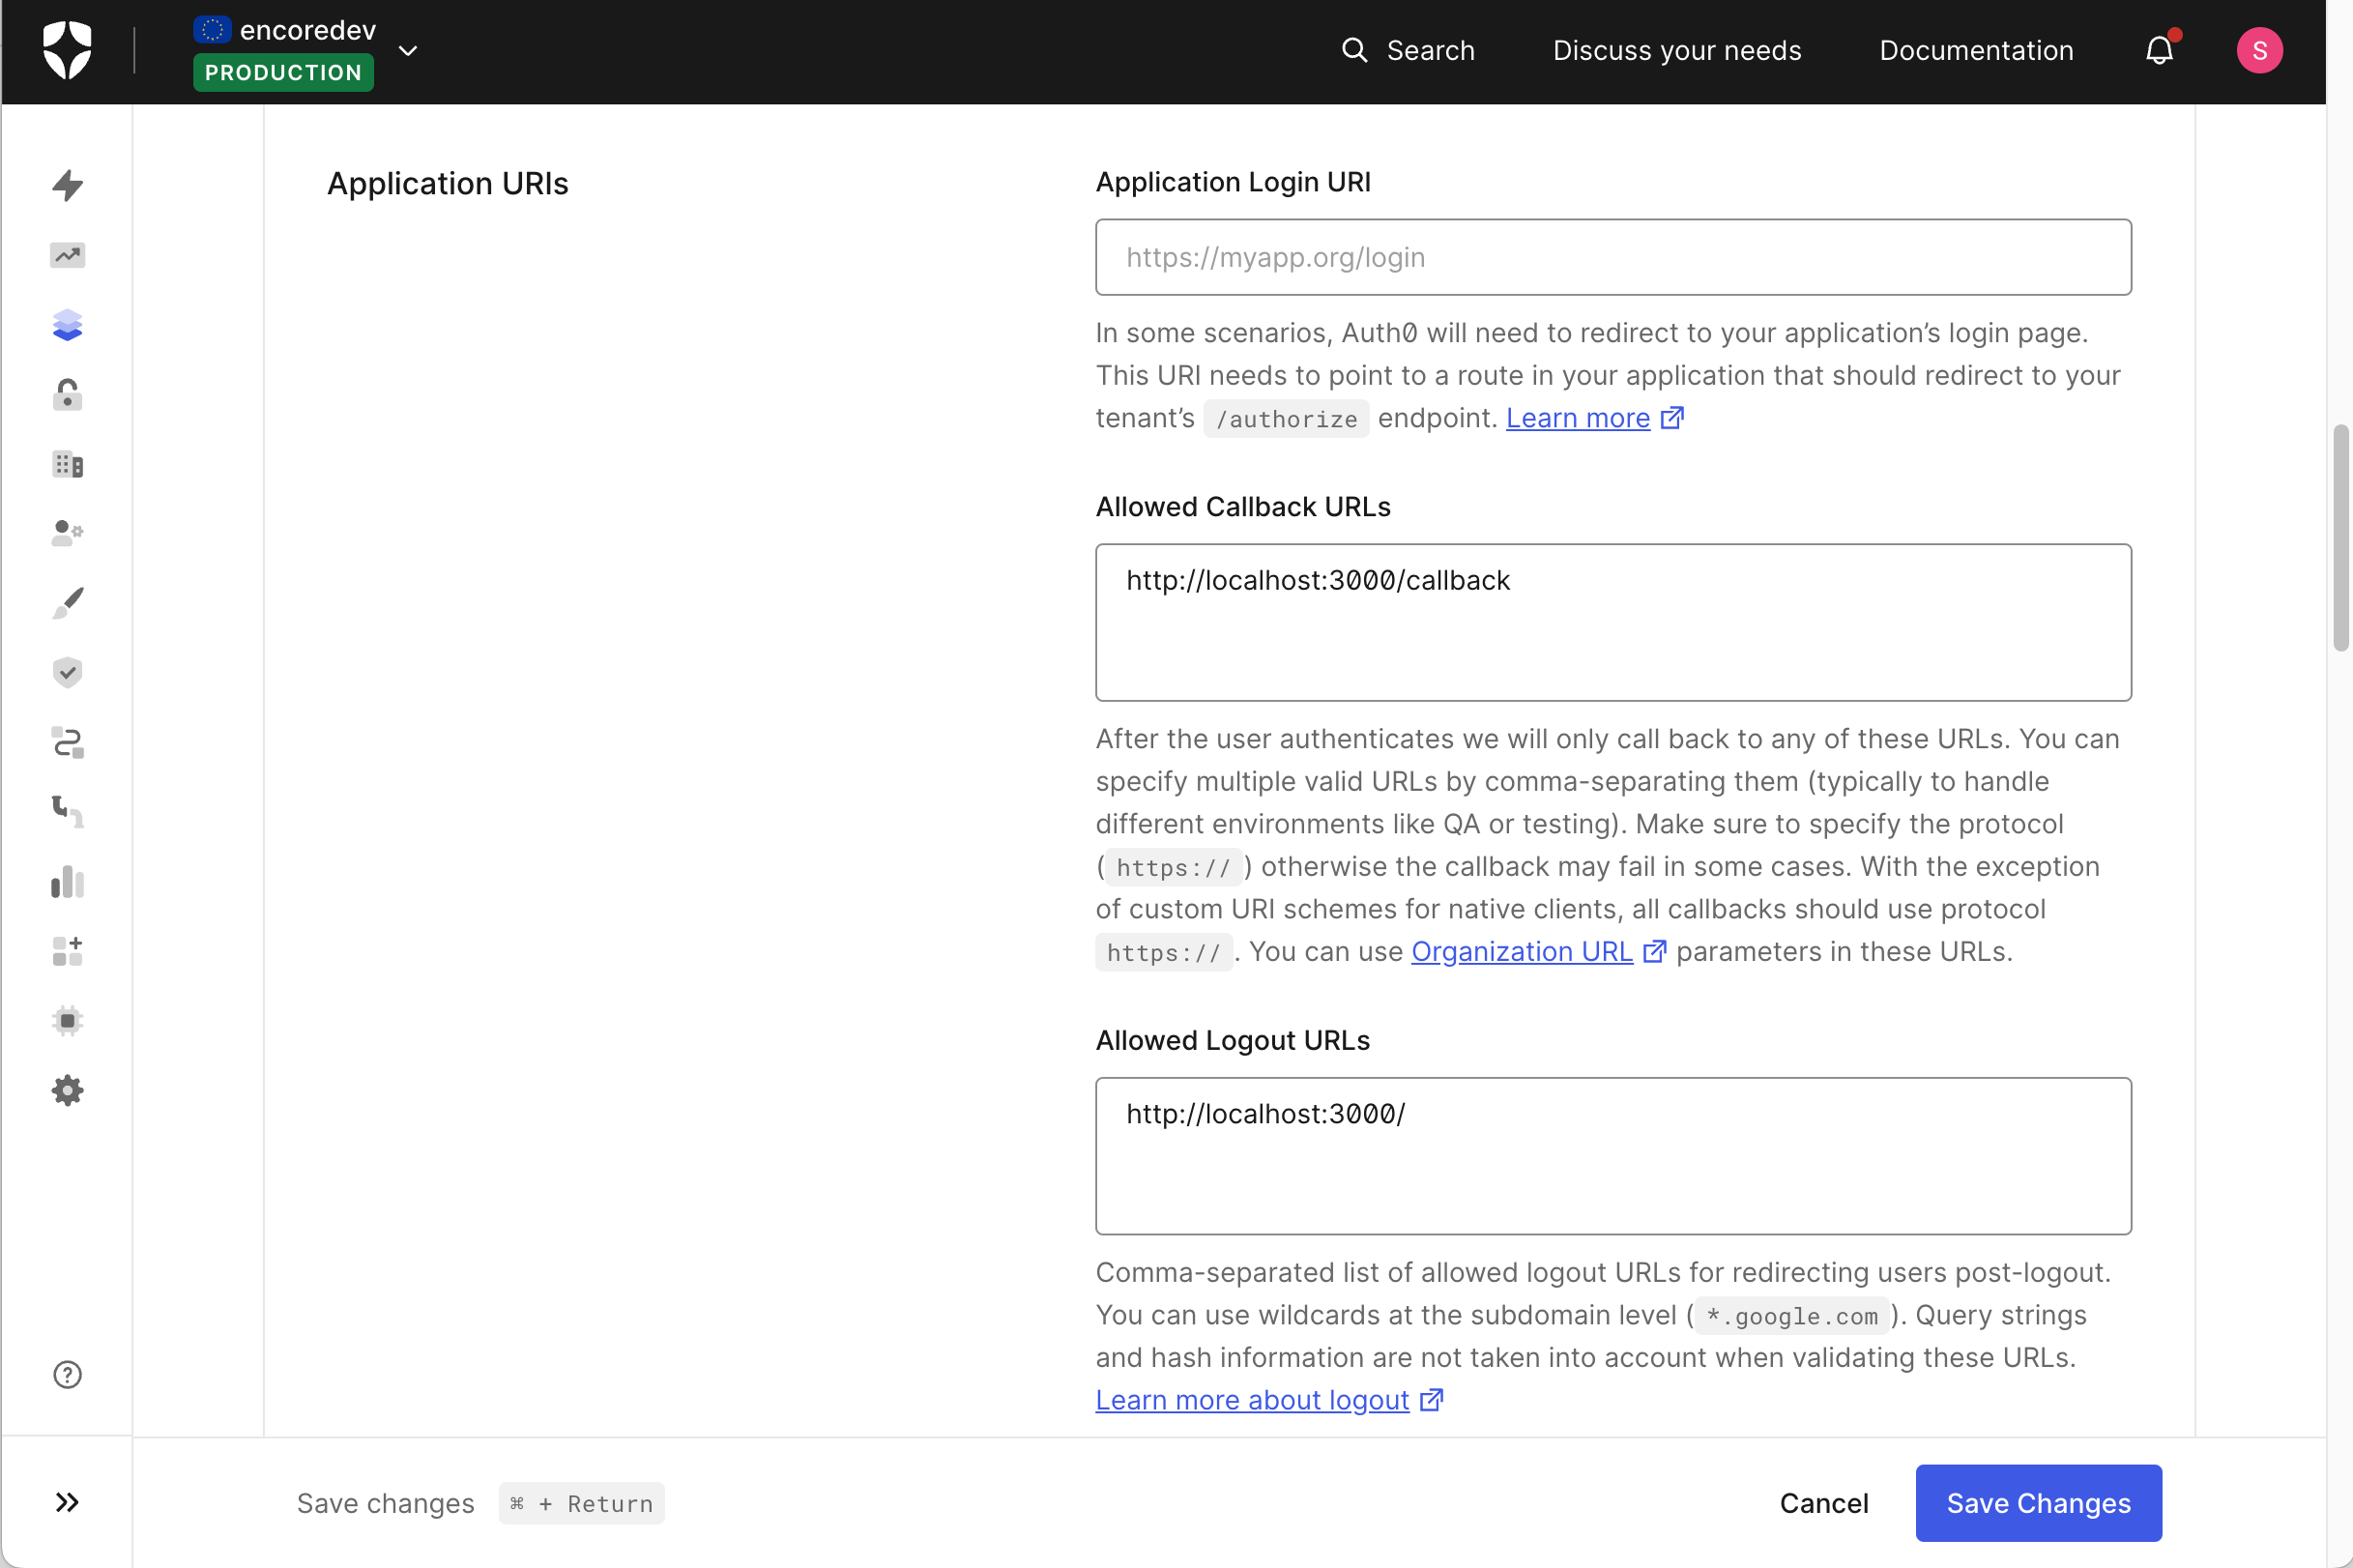
A callback URL is where Auth0 redirects the user after they have been authenticated.
Add http://localhost:3000/callback to the Allowed Callback URLs.
You will need to add more URLs to this list when you have a production or staging environments.
The same goes for the logout URL (were the user will get redirected after logout). Add http://localhost:3000/ to the Allowed Logout URLs.
Create a configuration file in the auth service and name it auth-config.cue. Add the following:
auth/auth-config.cue
ClientID: "<your client_id from above>"
Domain: "<your domain from above>"
// An application running locally
if #Meta.Environment.Type == "development" && #Meta.Environment.Cloud == "local" {
CallbackURL: "http://localhost:3000/callback"
LogoutURL: "http://localhost:3000/"
}
Replace the values for the ClientID and Domain that you got from the Auth0 dashboard.
The ClientSecret is especially sensitive and should not be hardcoded in your code/config. Instead, you should store that as an Encore secret.
From your terminal (inside your Encore app directory), run:
$ encore secret set --prod Auth0ClientSecret
Now you should do the same for the development secret. The most secure way is to set up a different Auth0 application and use that for development.
Depending on your security requirements you could also use the same secret for development and production.
Once you have a client secret for development, set it similarly to before:
$ encore secret set --dev Auth0ClientSecret
That's it! Encore will run your auth handler and validate the token against Auth0.
Now that the backend is set up, we can create a frontend application that uses the login flow.
Here's an example using React together with React Router. This example
also makes use of a Encores ability to generate request clients to make the communication
with our backend simple and typesafe.
import getRequestClient from "../lib/getRequestClient.ts";
import { useFetcher } from "react-router-dom";
import { useEffect, useState } from "react";
import { auth } from "../lib/client.ts";
import { Auth0Provider } from "../lib/auth.ts";
/**
* Component displaying login/logout button and basic user information if logged in.
*/
function LoginStatus() {
const client = getRequestClient();
const fetcher = useFetcher();
const [profile, setProfile] = useState<auth.ProfileData>();
const [loading, setLoading] = useState(true);
// Fetch profile data if user is authenticated
useEffect(() => {
const getProfile = async () => {
setProfile(await client.auth.GetProfile());
setLoading(false);
};
if (Auth0Provider.isAuthenticated()) getProfile();
else setLoading(false);
}, []);
if (loading) return null;
if (profile) {
return (
<div className="authStatus">
<img src={profile.picture} />
<fetcher.Form method="GET" action="/logout">
<button type="submit">Sign out {profile.email}</button>
</fetcher.Form>
</div>
);
}
const params = new URLSearchParams();
params.set("returnTo", window.location.pathname);
return (
<div className="authStatus">
<fetcher.Form method="GET" action={"/login?" + params.toString()}>
<button type="submit">
{fetcher.state !== "idle" ? "Signing in..." : "Sign in"}
</button>
</fetcher.Form>
</div>
);
}
export default LoginStatus;
lib/getRequestClient.ts
import Client, { Environment, Local } from "./client.ts";
import Cookies from "js-cookie";
/**
* Returns the generated Encore request client for either the local or staging environment.
* If we are running the frontend locally (development) we assume that our Encore
* backend is also running locally.
*/
const getRequestClient = () => {
const token = Cookies.get("auth-token");
const env = import.meta.env.DEV ? Local : Environment("staging");
return new Client(env, {
auth: token,
});
};
export default getRequestClient;