Use Neon Postgres
Neon is a serverless database provider that offers a fully managed and autoscalable Postgres database.
You can configure Encore Cloud to provision a Neon Postgres database instead of the default offering for all supported cloud providers.
Connect your Neon account
To start using Neon with Encore Cloud, you need to add your Neon API key to your Encore Cloud application. You can sign up for a Neon account at neon.tech. Once you have an account, you can find your API key in the Neon Console
Then, head over to the Neon settings page by going to the Encore Cloud dashboard > (Select your app) > App Settings > Integrations > Neon.
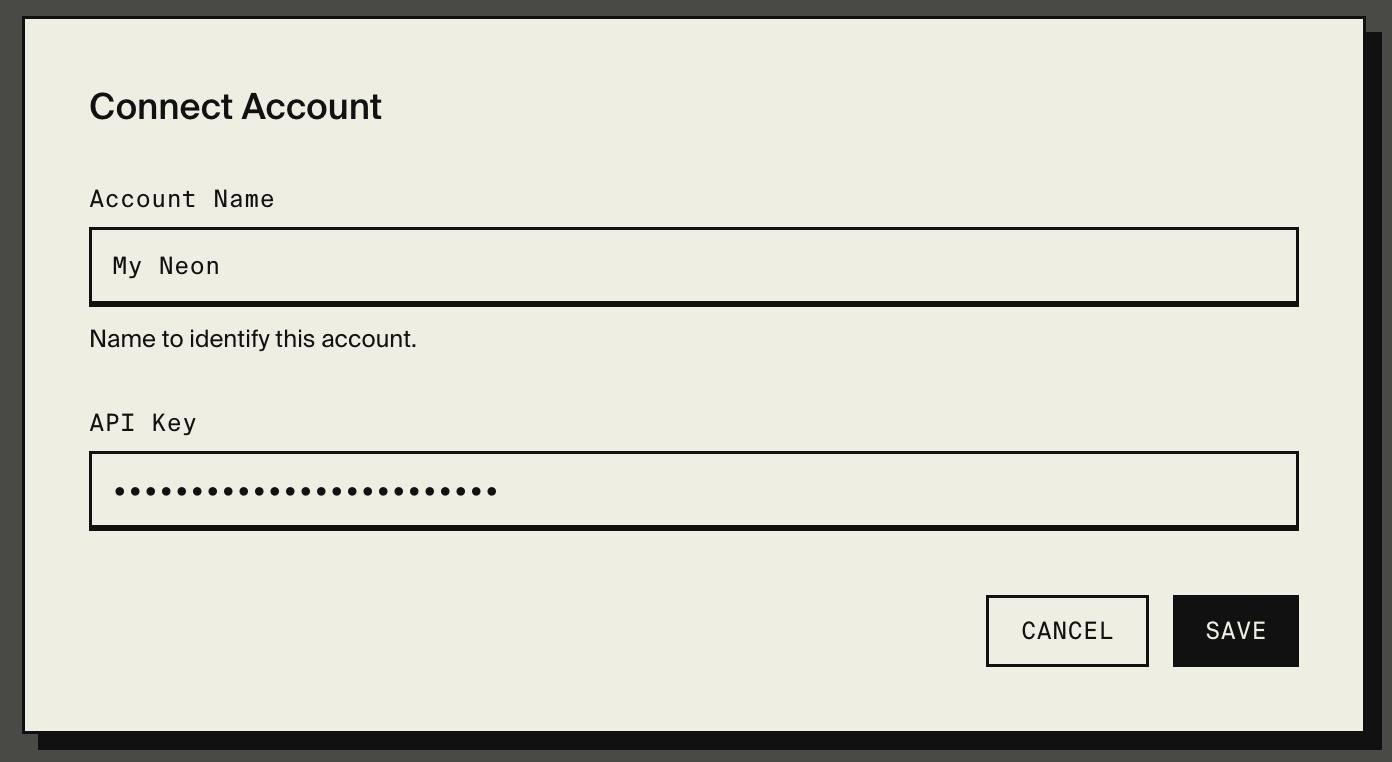
Click the "Connect Account" button, give it a name, and enter your API key.

Creating environments using Neon
Neon organizes databases in projects. A project consist of a main branch and any number of feature branches. Branches in Neon are similar to branches in git, letting you to create a new branch for each feature or bug fix, to test your changes in isolation.
When configuring your Encore Cloud environment to use Neon, you can choose which project and branch to use. To get started,
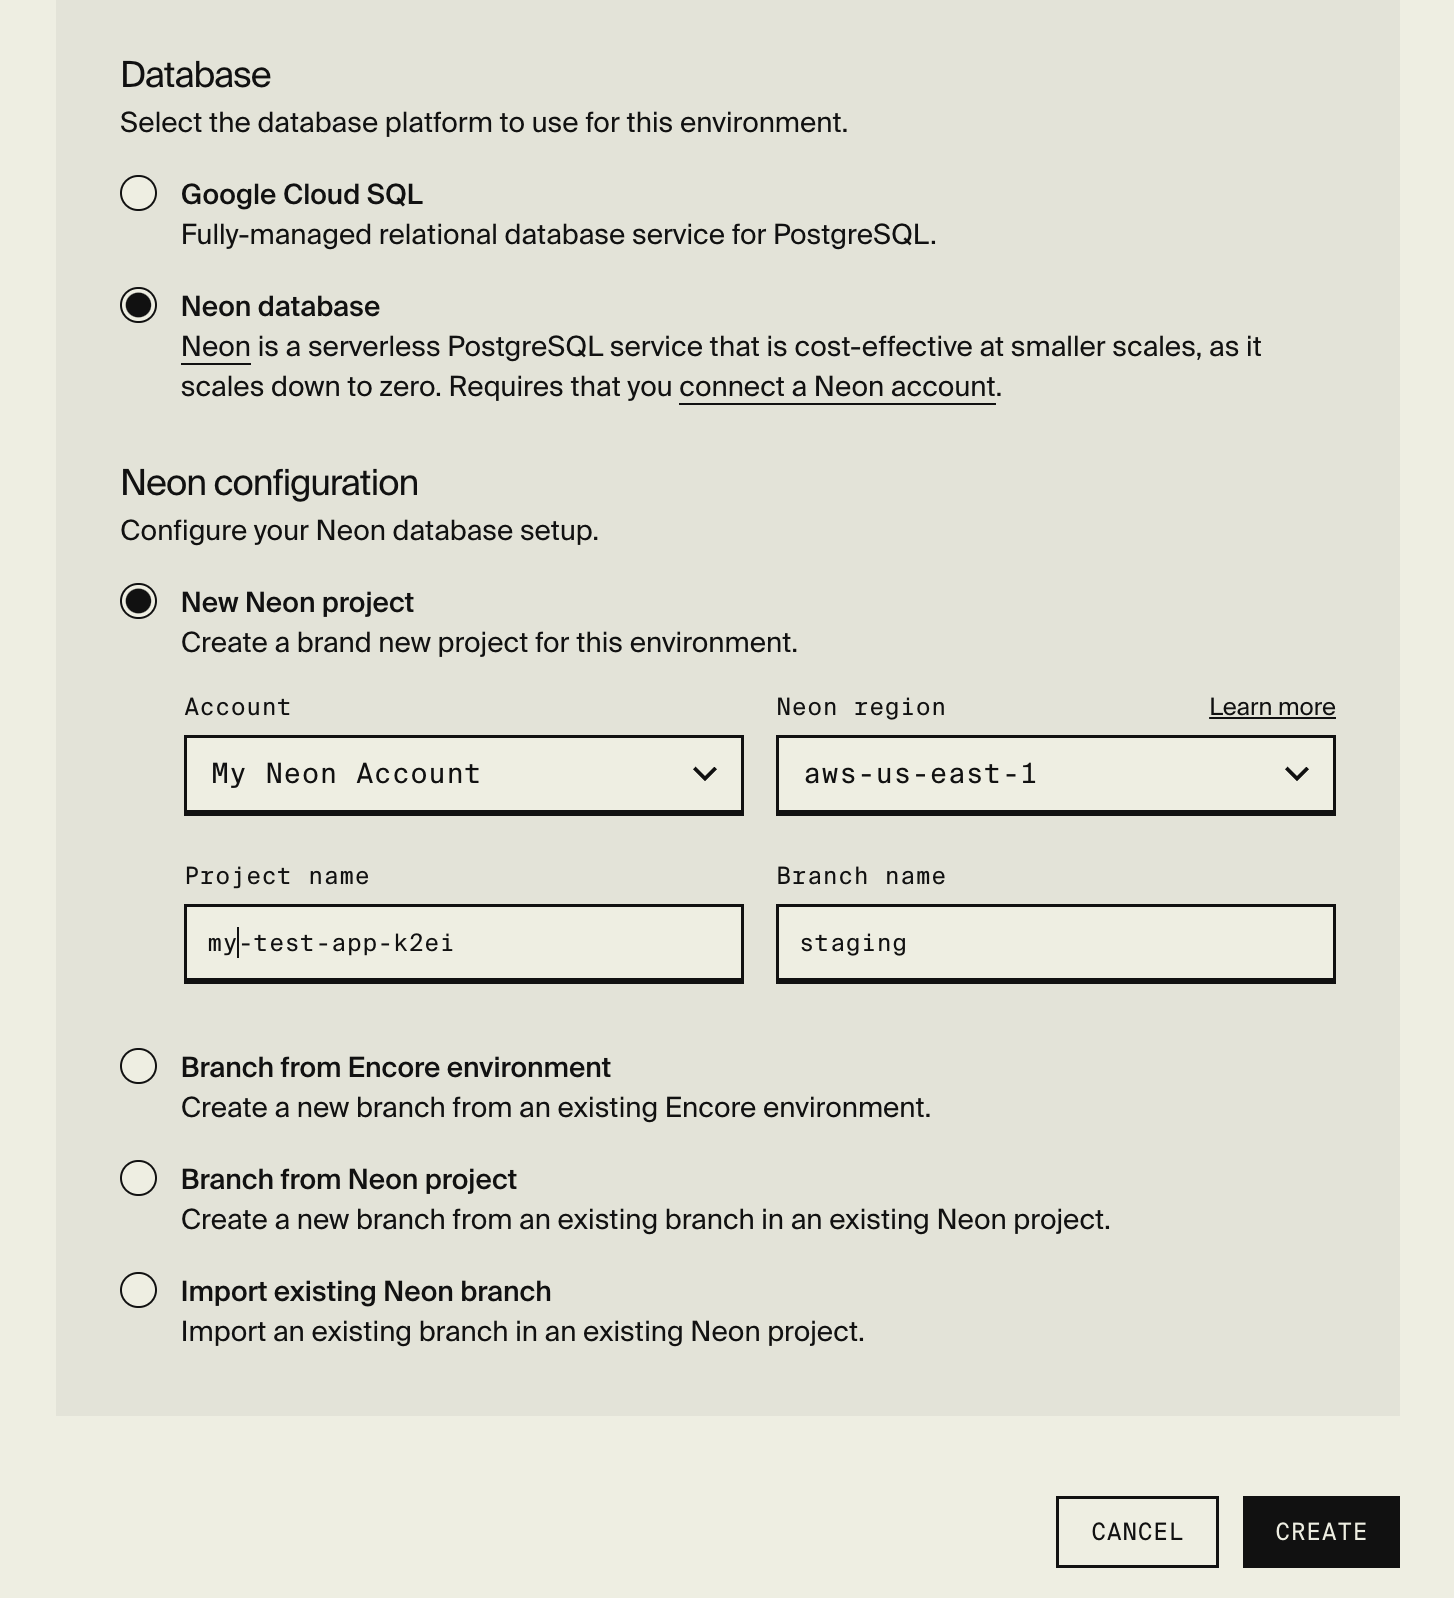
head to the Encore Cloud dashboard > (Select your app) > Environments > Create Environment. In the Database section, select
Neon database.

Create a new Neon project and branch
If you're starting off a blank slate, you can let Encore Cloud create a new Neon project and branch for you.
Select New Neon project and choose a Neon account and region. We recommend picking a region close to your compute and
that you use the suggested project and branch names, but you're free to choose any configuration you like.
Branch from an existing Encore Cloud environment
If you already have an Encore Cloud environment with Neon, you can branch your database from that environment.
Simply select Branch from Encore environment and choose the environment you want to branch from. This option will
be disabled if you don't have any environments using Neon.
Branch from an existing Neon branch
You can also choose to manually select a Neon branch to branch from. This is useful if you have an existing Neon project,
but it's not currently being used by any Encore Cloud environments. Select Branch from Neon project,
then choose the account, project and branch you want to use.
Import an existing Neon branch
The final option is to import an existing Neon branch. This is useful if you have an existing database you want to use.
Be wary that this option will not create a new branch but operate on the existing data. Select Import Neon branch,
then choose the account, project and branch you want to use.
Note: You may need to manually adjust the roles, commonly you need to change the database owner to the db_<db_name>_admin role to enable execution of migrations.
See more in the Roles section below.
Edit your Neon environment
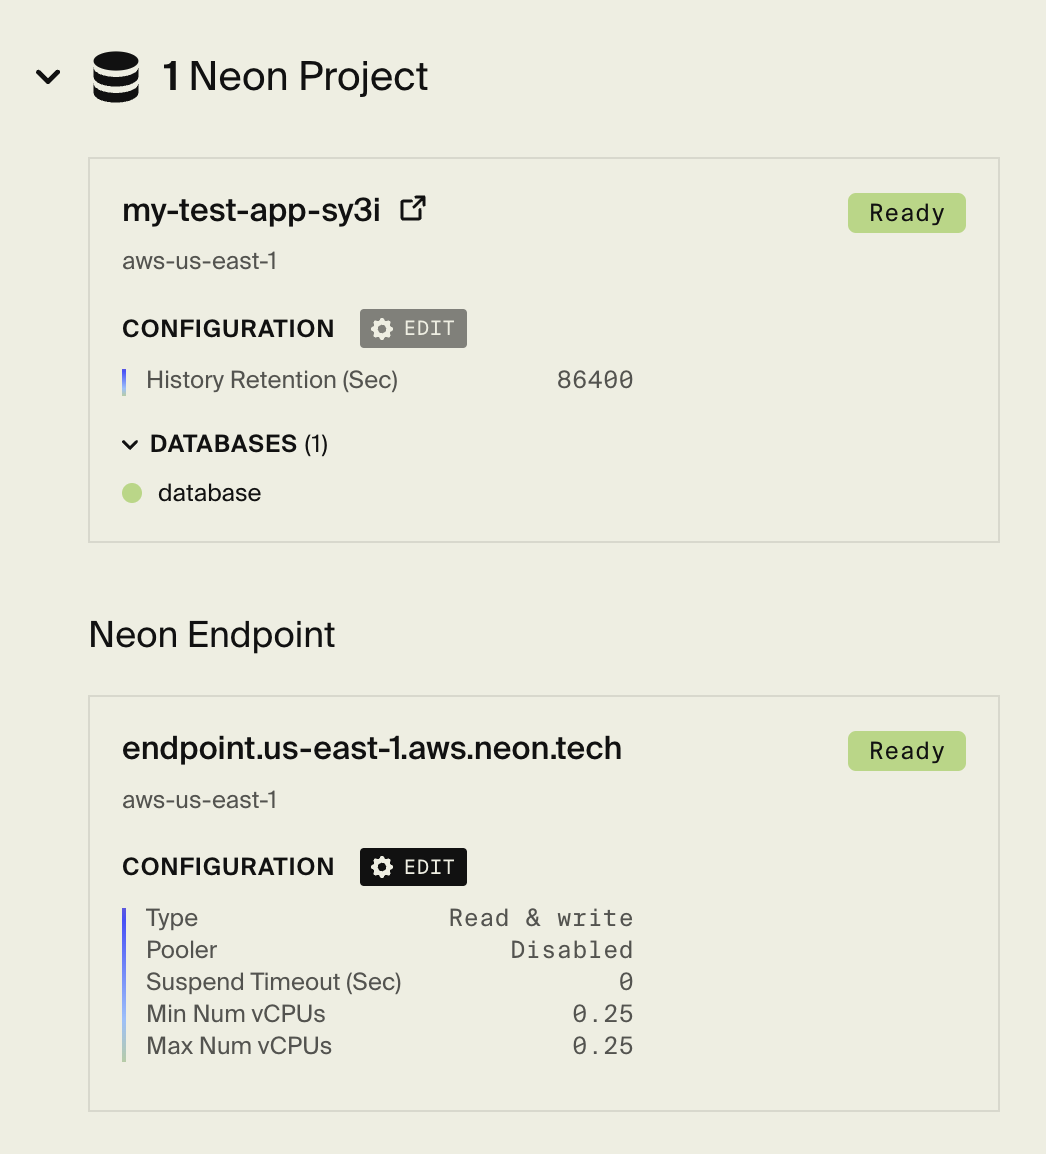
Once the environment is created, you can edit the Neon settings by going to the Encore Cloud dashboard > (Select your app) > Environments > (Select your environment) > Infrastructure. Here you can view and edit your Neon account resources. As a safety precaution, we've disabled editing of imported resources to prevent accidental changes to shared data.

Neon project
The retention history specifies how long Neon will keep changes to your data. The default is 1 day, but depending on your Neon plan, you can increase this to up to 30 days.
Neon endpoint
Each branch is assigned a unique endpoint which essentially is the serverless compute handling your database. You can edit the endpoint to set the CPU limits and the suspend timeout. The suspend timeout is the time Neon will wait before suspending the compute when it's not in use. The default is 5 minutes, but you can increase this to up to a week (depending on your Neon plan).
Use Neon for Preview Environments
Neon is a great choice for Preview Environments as it allows you to branch off a populated database and test your changes in isolation.
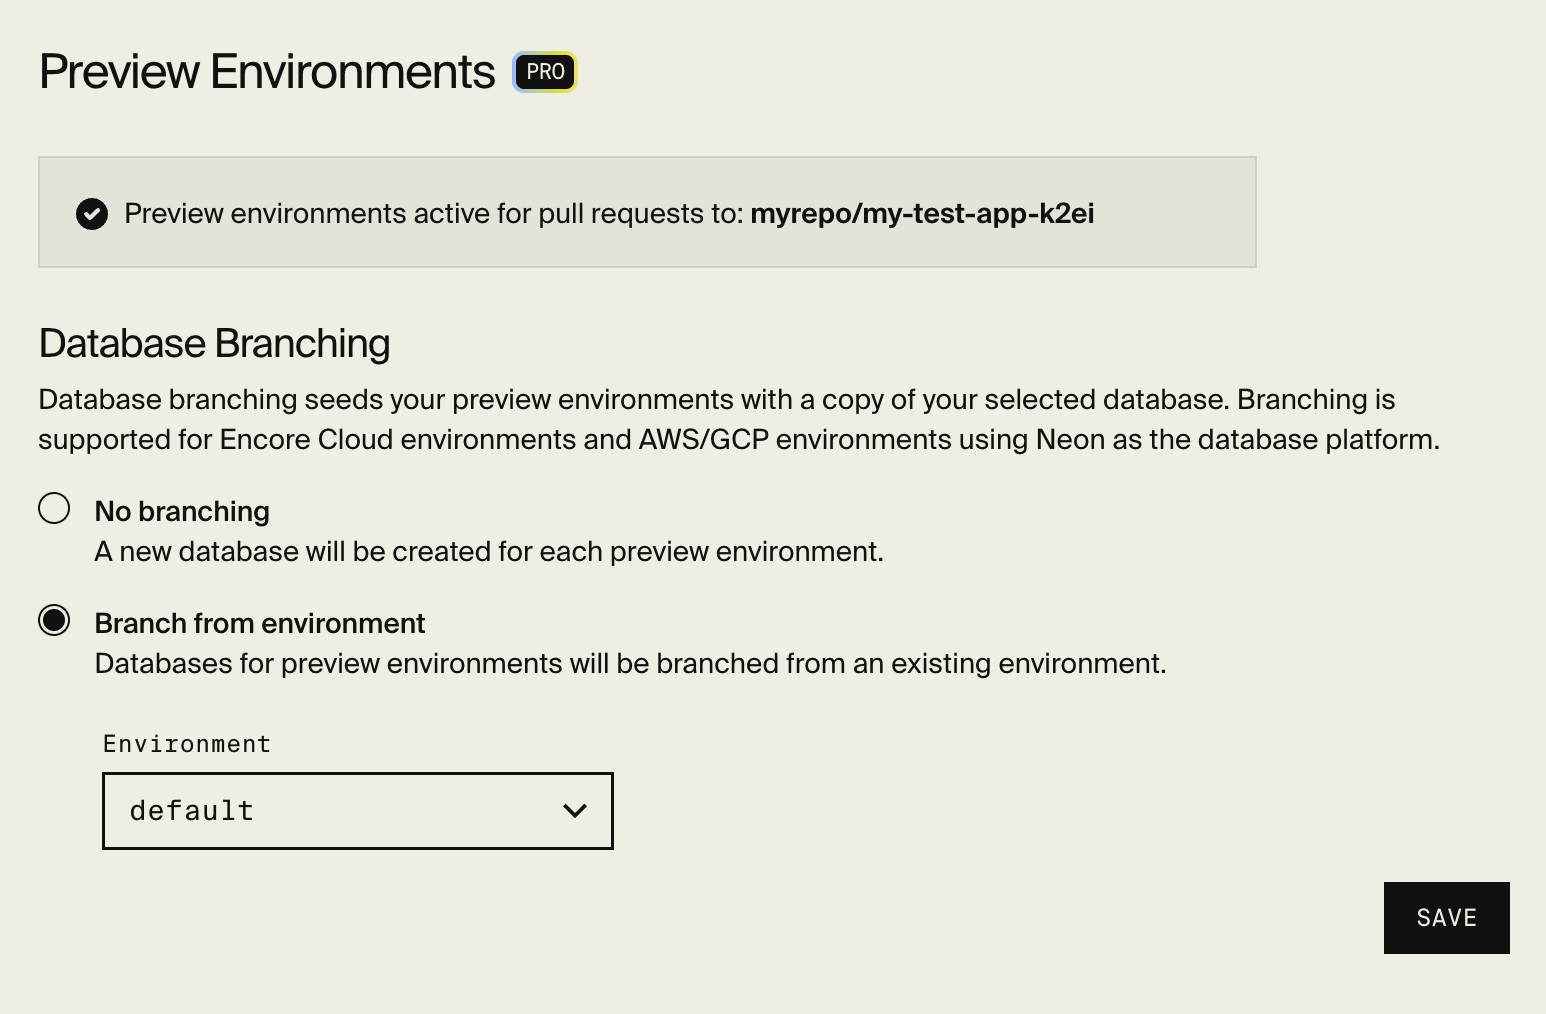
To configure which branch to use for Preview Environments, head to the Encore Cloud dashboard > (Select your app) > App Settings > Preview Environments and select the environment with the database you want to branch from. Hit save and you're all done.
Keep in mind that you can only branch from environments that use Neon as the database provider; this is the default for Encore Cloud environments, but is a configurable option when creating AWS and GCP environments.

Roles
Encore Cloud automatically implements a structured role hierarchy that ensures a secure, scalable, and efficient management of databases. Below is an explanation of how roles are created, utilized, and managed.
Role hierarchy
1. Initial Superuser Role
- Role Name:
encore_platform- Access level: This role has full privileges and is the foundational user for setting up the role hierarchy.
- Purpose: The role creates and configures the subsequent roles and then steps back from day-to-day operations.
2. Global Roles
Three core roles are created to define access levels across all databases:
encore_reader- Access level: Provides read-only access.
- Use Case: Reading data without modifying it.
encore_writer- Access level: Allows read and write access.
- Use Case: Performing data manipulations and inserts.
encore_admin- Access level: Grants administrative privileges for global database operations.
- Use Case: Overseeing configurations, managing schemas, and handling elevated tasks.
These global roles are used by Encore's CLI when using the encore db shell command.
Learn more in the CLI docs.
3. Database-Specific Roles
For each database within the Neon integration, specific roles are created to provide fine-grained control:
db_<db_name>_reader: Read-only access to the main database.db_<db_name>_writer: Read and write access to the main database.db_<db_name>_admin: Administrative privileges specific to the main database.
4. Service-Specific Roles
For each service in your application, a dedicated role is generated in the format svc_<name>. This role is granted the necessary db_<db_name>_writer role for each database the service accesses.
This ensures that each service has the appropriate level of access to perform its operations while maintaining security and separation of concerns.
Example: A service named orders that writes to the main database is assigned the svc_orders role, which is granted the db_main_writer role.
Role Setup Workflow
- 1. Superuser Creation: the
encore_platformsuperuser role is created upon integration setup. - 2. Global Role Creation: The
encore_reader,encore_writer, andencore_adminroles are established to provide general access control. - 3. Database-Specific Roles: For each database, roles are created in the format
db_<db_name>_<access_level>to manage access specific to that database. - 4. Service-Specific Roles: For each service, roles are created in the format
svc_<name>and are granted the necessary writer roles for the databases used by each service.
Viewing credentials
To view database credentials, open your app in the Encore Cloud dashboard, navigate to the Infrastructure page for the appropriate Environment, and locate the USERS section within the relevant Database Cluster.
Best Practices
Encore Cloud automatically manages roles according to these security best practices:
- Role Ownership: Ensures critical operations, such as migrations, are executed by roles with appropriate permissions (e.g.,
db_<db_name>_admin). - Access Control: Assigns the least privilege necessary for each task. Uses specific database roles (e.g.,
db_<db_name>_reader) to restrict access. - Consistency: Maintains consistent naming conventions (
db_<db_name>_<access_level>) for ease of management and troubleshooting.
Integrating with existing Neon databases
If you are integrating with an existing Neon database, you may need to manually adjust the roles to work with Encore Cloud's role structure.
Commonly, the adjustment needed is changing the database owner to the db_<db_name>_admin role to enable execution of migrations.