# Building a Slack bot
> Learn how to build a Slack bot with an Encore backend
In this tutorial you will create a Slack bot that brings the greatness of the `cowsay` utility to Slack!
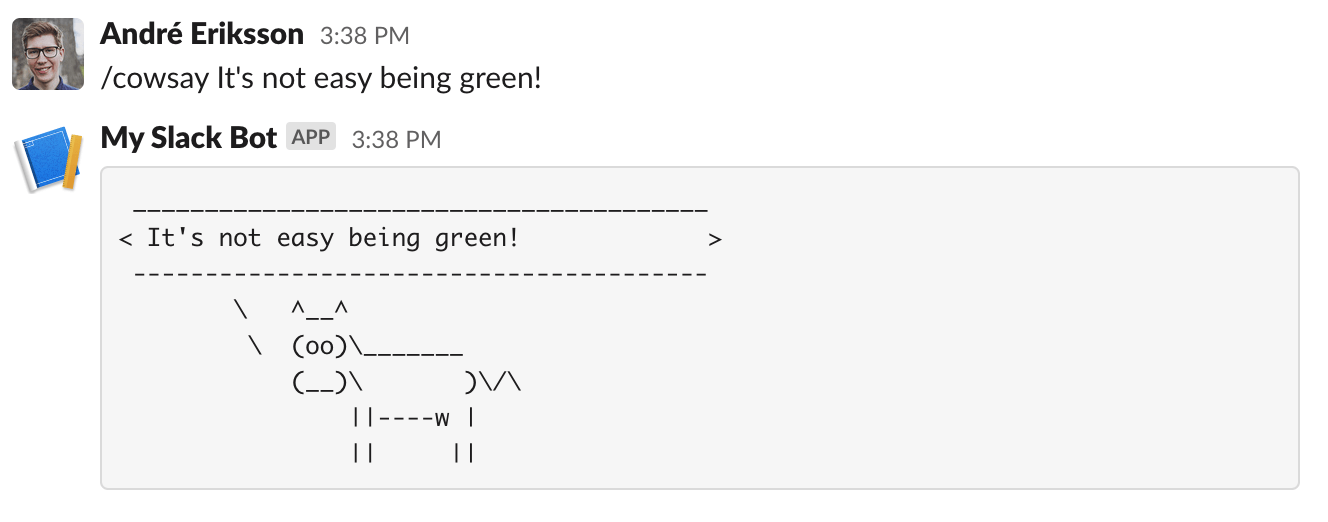
This is the end result:
To make it easier to follow along, we've laid out a trail of croissants to guide your way.
Whenever you see a 🥐 it means there's something for you to do.
## 1. Create your Encore application
🥐 Create a new Encore application by running `encore app create` and select `Empty app` as the template.
**Take a note of your app id, we'll need it in the next step.**
## 2. Create a Slack app
🥐 The first step is to create a new Slack app:
1. Head over to [Slack's API site](https://api.slack.com/apps) and create a new app.
2. When prompted, choose to create the app **from an app manifest**.
3. Choose a workspace to install the app in.
🥐 Enter the following manifest (replace `$APP_ID` in the URL below with your app id from above):
```yaml
_metadata:
major_version: 1
display_information:
name: Encore Bot
description: Cowsay for the cloud age.
features:
slash_commands:
- command: /cowsay
# Replace $APP_ID below
url: https://staging-$APP_ID.encr.app/cowsay
description: Say things with a flair!
usage_hint: your message here
should_escape: false
bot_user:
display_name: encore-bot
always_online: true
oauth_config:
scopes:
bot:
- commands
- chat:write
- chat:write.public
settings:
org_deploy_enabled: false
socket_mode_enabled: false
token_rotation_enabled: false
```
Once created, we're ready to move on with implementing our Encore endpoint!
## 3. Implement the Slack endpoint
Since Slack sends custom HTTP headers that we need to pay attention to, we're going to
use a raw endpoint in Encore. For more information on this check out Slack's documentation
on [Enabling interactivity with Slash Commands](https://api.slack.com/interactivity/slash-commands).
🥐 In your Encore app, create a directory named `slack` containing a file named `encore.service.ts`.
```shell
$ mkdir slack
$ touch slack/encore.service.ts
```
🥐 Add the following code to `slack/encore.service.ts`:
```ts
-- slack/encore.service.ts --
import { Service } from "encore.dev/service";
export default new Service("slack");
```
This is how you create define services with Encore. Encore will now consider files in the `slack` directory and all its subdirectories as part of the `slack` service.
🥐 Create a file `slack/slack.ts` with the following contents:
```ts
-- slack/slack.ts --
import { api } from "encore.dev/api";
import type { IncomingMessage } from "node:http";
// cowart is the formatting string for printing the cow art.
const cowart = (msg: string) => `Moo! ${msg}
`;
export const cowsay = api.raw(
{ expose: true, path: "/cowsay", method: "*" },
async (req, resp) => {
const body = await getBody(req);
const text = new URLSearchParams(body).get("text");
const msg = cowart(text || "Moo!");
resp.setHeader("Content-Type", "application/json");
resp.end(JSON.stringify({ response_type: "in_channel", text: msg }));
},
);
// Extract the body from an incoming request.
function getBody(req: IncomingMessage): Promise {
return new Promise((resolve) => {
const bodyParts: any[] = [];
req
.on("data", (chunk) => {
bodyParts.push(chunk);
})
.on("end", () => {
resolve(Buffer.concat(bodyParts).toString());
});
});
}
```
Let's try it out locally.
🥐 Start your app with `encore run` and then call it in another terminal:
```shell
$ curl http://localhost:4000/cowsay -d 'text=Eat your greens!'
{"response_type":"in_channel","text":"Moo! Eat your greens!"}
```
Looks great!
🥐 Next, let's deploy it to the cloud:
```shell
$ git add -A .
$ git commit -m 'Initial commit'
$ git push encore
```
Once deployed, we're ready to try our Slack command!
🥐 Head over to the workspace you installed the app in and run `/cowsay Hello there`.
You should see something like this:
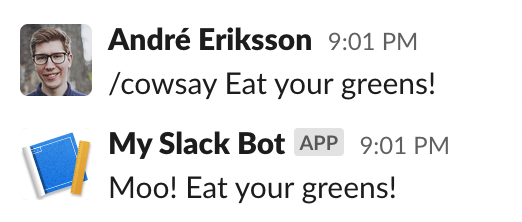
And just like that we have a fully working Slack integration.
## 4. Secure the webhook endpoint
In order to get up and running quickly we ignored one important aspect for a production-ready Slack app:
verifying that the webhook requests are actually coming from Slack. Let's do that now!
The Slack documentation covers this really well on the [Verifying requests from Slack](https://api.slack.com/authentication/verifying-requests-from-slack) page.
In short, what we need to do is:
1. Save a shared secret that Slack provides us
2. Use the secret to verify that the request comes from Slack, using HMAC (Hash-based Message Authentication Code).
### Save the shared secret
Let's define a secret using Encore's secrets management functionality.
🥐 Add this to your `slack.ts` file:
```ts
HL slack/slack.ts 0:0
HL slack/slack.ts 2:2
-- slack/slack.ts --
import { secret } from "encore.dev/config";
const slackSigningSecret = secret("SlackSigningSecret");
```
🥐 Head over to the configuration section for your Slack app (go to [Your Apps](https://api.slack.com/apps) → select your app → Basic Information).
🥐 Copy the **Signing Secret** and then run `encore secret set --type prod SlackSigningSecret` and paste the secret.
🥐 For development you will also want to set `encore secret set --type dev,local,pr SlackSigningSecret`.
You can use the same secret value or a placeholder value.
### Compute the HMAC
TypeScript makes computing HMAC very straightforward, but it's still a fair amount of code.
🥐 Add a few more imports to your file, so that it reads:
```ts
-- slack/slack.ts --
import { createHmac, timingSafeEqual } from "node:crypto";
import type { IncomingHttpHeaders } from "http";
```
🥐 Next, we'll add the `verifySignature` function:
```ts
-- slack/slack.ts --
// Verifies the signature of an incoming request from Slack.
const verifySignature = async function (
body: string,
headers: IncomingHttpHeaders,
) {
const requestTimestampSec = parseInt(
headers["x-slack-request-timestamp"] as string,
);
const signature = headers["x-slack-signature"] as string;
if (Number.isNaN(requestTimestampSec)) {
throw new Error(
`Failed to verify authenticity: header x-slack-request-timestamp did not have the expected type (${requestTimestampSec})`,
);
}
// Calculate time-dependent values
const nowMs = Date.now();
const requestTimestampMaxDeltaMin = 5;
const fiveMinutesAgoSec =
Math.floor(nowMs / 1000) - 60 * requestTimestampMaxDeltaMin;
// Enforce verification rules
// Rule 1: Check staleness
if (requestTimestampSec < fiveMinutesAgoSec) {
throw new Error(
`Failed to verify authenticity: x-slack-request-timestamp must differ from system time by no more than ${requestTimestampMaxDeltaMin} minutes or request is stale`,
);
}
// Rule 2: Check signature
// Separate parts of signature
const [signatureVersion, signatureHash] = signature.split("=");
// Only handle known versions
if (signatureVersion !== "v0") {
throw new Error(`Failed to verify authenticity: unknown signature version`);
}
// Compute our own signature hash
const hmac = createHmac("sha256", slackSigningSecret());
hmac.update(`${signatureVersion}:${requestTimestampSec}:${body}`);
const ourSignatureHash = hmac.digest("hex");
if (
!signatureHash ||
!timingSafeEqual(
Buffer.from(signatureHash, "utf8"),
Buffer.from(ourSignatureHash, "utf8"),
)
) {
throw new Error(`Failed to verify authenticity: signature mismatch`);
}
};
```
We're now ready to verify the signature.
🥐 Update the `cowsay` function to look like this:
```ts
HL slack/slack.ts 5:12
-- slack/slack.ts --
export const cowsay = api.raw(
{ expose: true, path: "/cowsay", method: "*" },
async (req, resp) => {
const body = await getBody(req);
try {
await verifySignature(body, req.headers);
} catch (err) {
const e = err as Error;
resp.statusCode = 500;
resp.end(e.message);
return;
}
const text = new URLSearchParams(body).get("text");
const msg = cowart(text || "Moo!");
resp.setHeader("Content-Type", "application/json");
resp.end(JSON.stringify({ response_type: "in_channel", text: msg }));
},
);
```
## 5. Put it all together and deploy
Finally we're ready to put it all together.
🥐 Add the `cowart` in `slack.ts` like so:
```ts
-- slack/slack.ts --
const cowart = (msg: string) => `
\`\`\`
+-${"-".repeat(msg.length)}-+
| ${msg} |
+-${"-".repeat(msg.length)}-+
\\ __n__n__
.------\`-\\00/-'
/ ## ## (oo)
/ \\## __ ./
|//YY \\|/
||| |||
\`\`\`
`;
```
🥐 Finally, let's commit our changes and deploy it:
```shell
$ git add -A .
$ git commit -m 'Verify webhook requests and improve art'
$ git push encore
```
🥐 Once deployed, head back to Slack and run `/cowsay Hello there`.
If everything is set up correctly, you should see:

And there we go, a production-ready Slack bot in less than 100 lines of code.
Well done!
### Celebrate with fireworks
Now that your app is running in the cloud, let's celebrate with some fireworks:
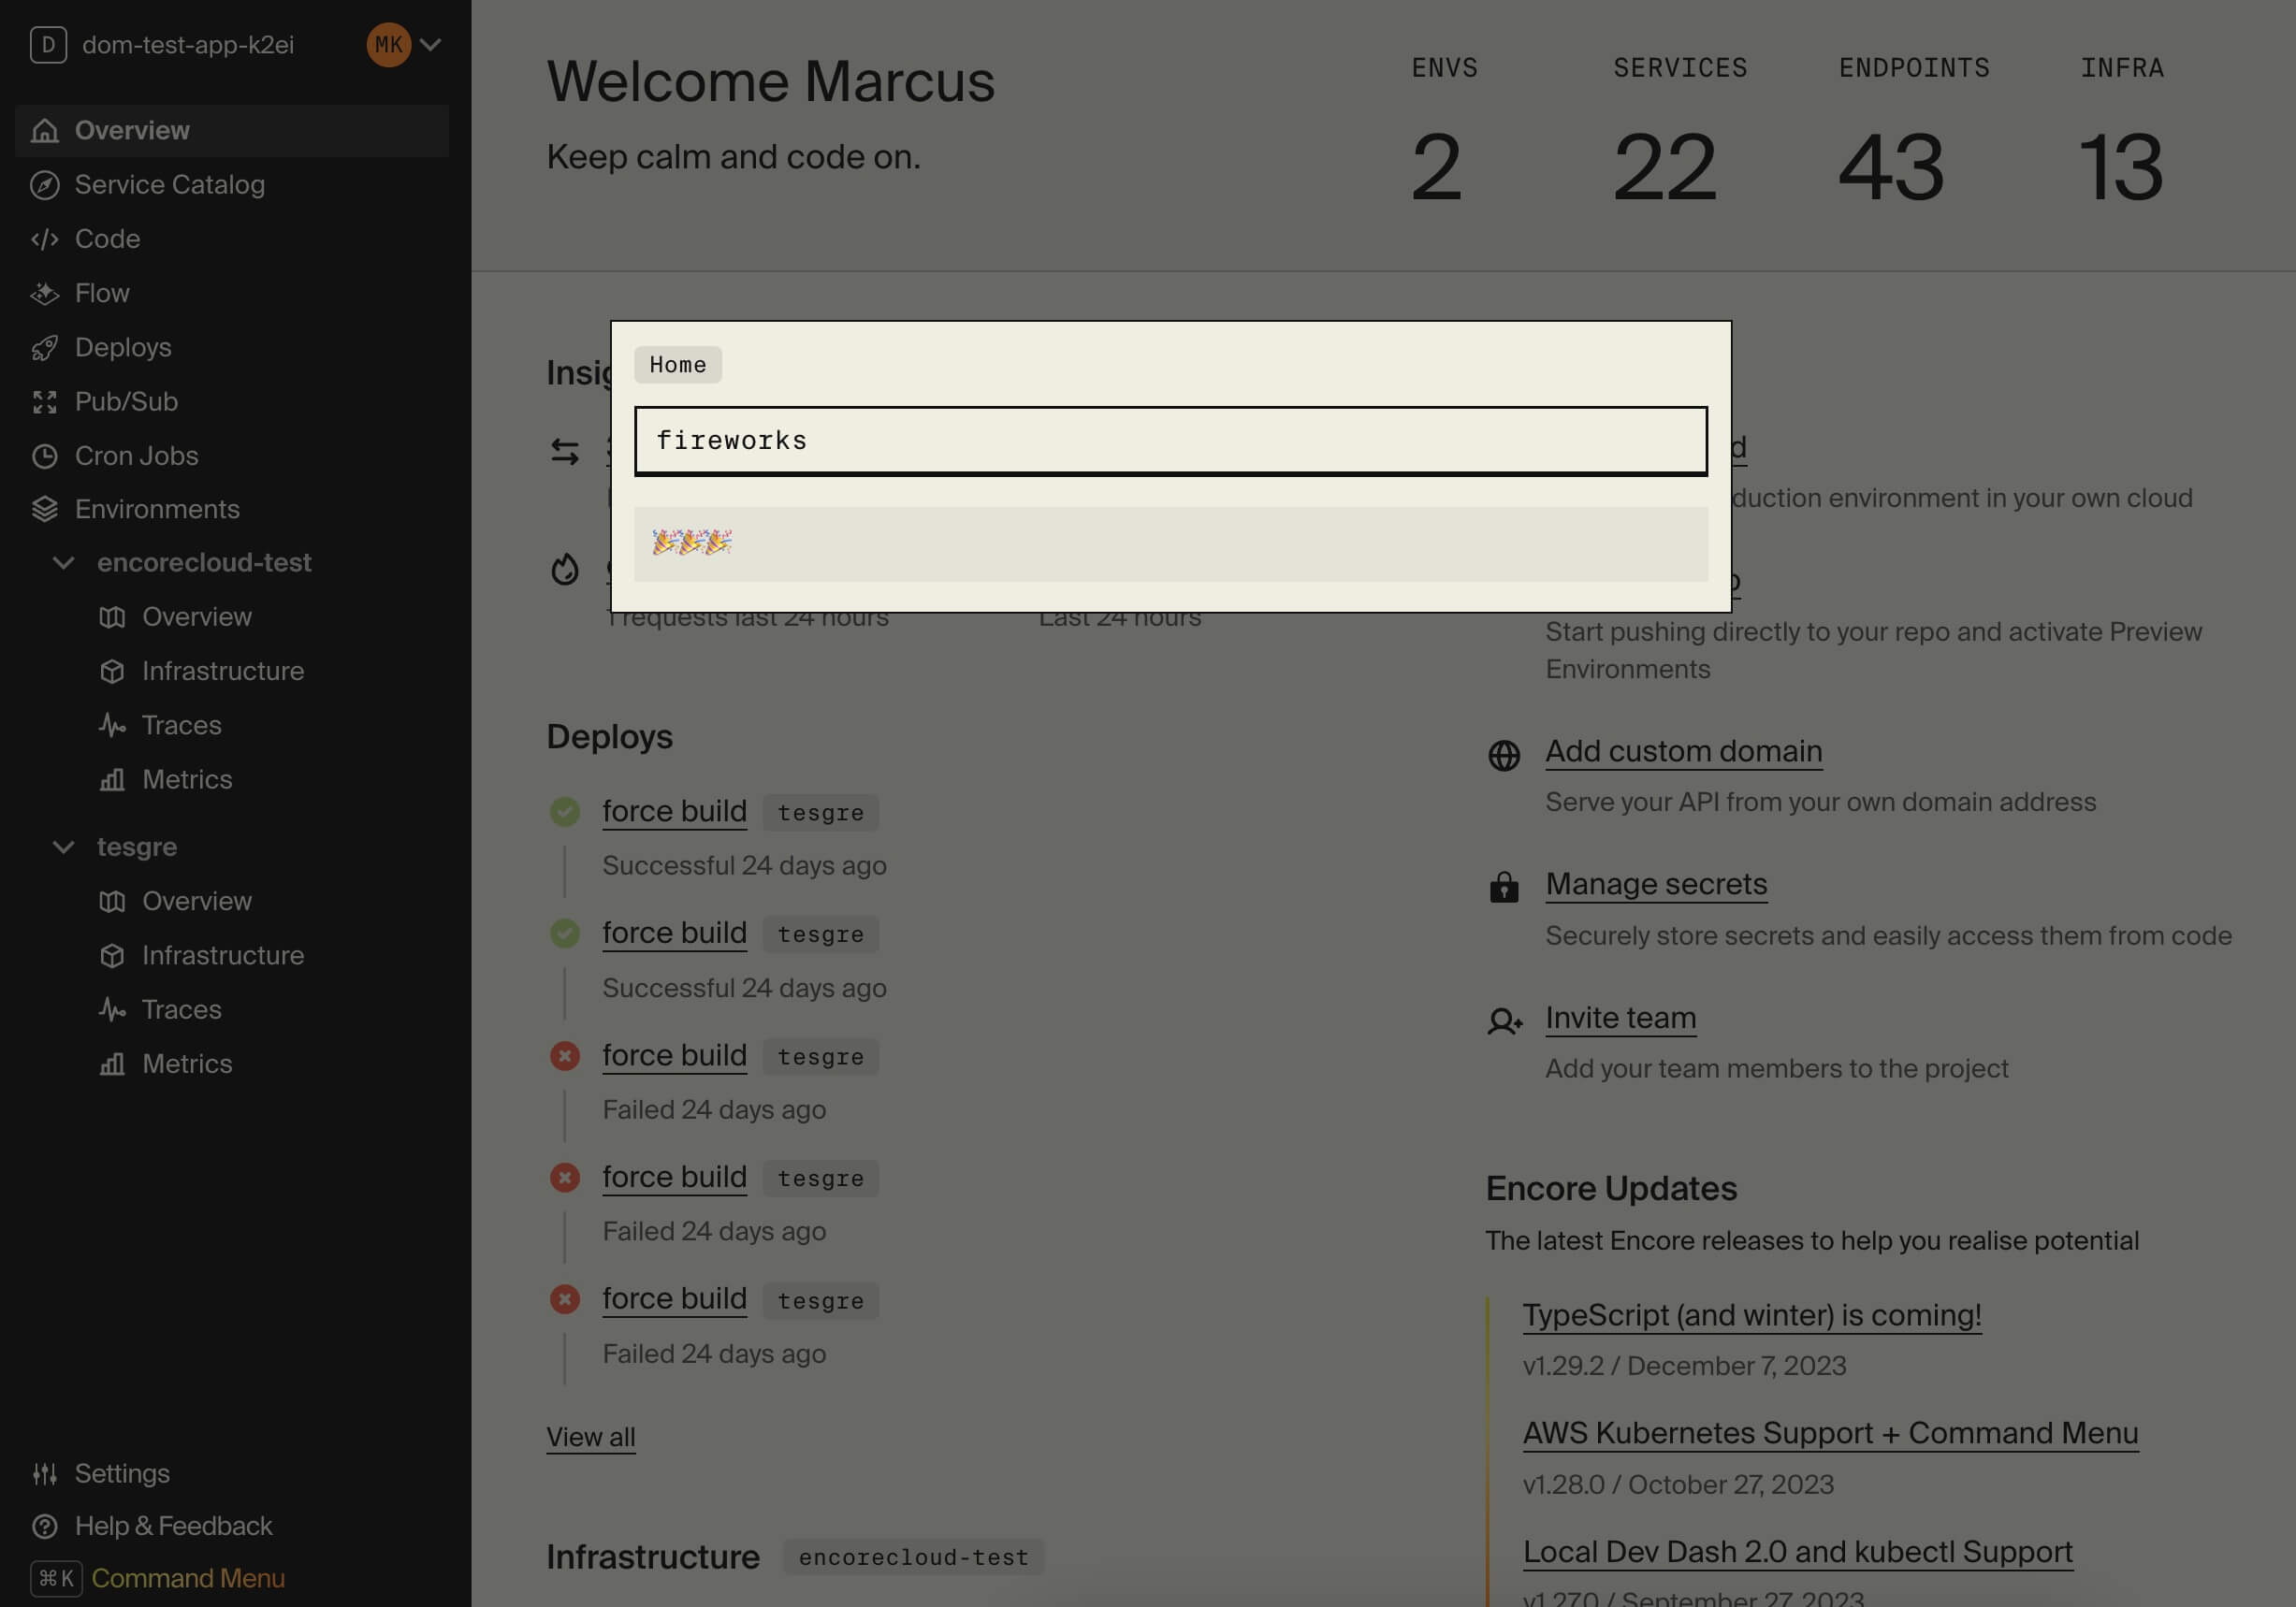
🥐 In the Cloud Dashboard, open the Command Menu by pressing **Cmd + K** (Mac) or **Ctrl + K** (Windows/Linux).
_From here you can easily access all Cloud Dashboard features and for example jump straight to specific services in the Service Catalog or view Traces for specific endpoints._
🥐 Type `fireworks` in the Command Menu and press enter. Sit back and enjoy the show!