# Building a Meeting Notes app
> Learn how to set up a web app backend (with database) in less than 100 lines of code
In this tutorial, we will create a backend in less than 100 lines of code. The backend will:
- Store data in a cloud SQL database
- Make API calls to a third-party service
- Deploy to the cloud and be publicly available
The example app we will build is a markdown meeting notes app BUT it’s trivial to replace the specifics if you have another idea in mind (again, less than 100 lines of code).
**[Demo version of the app](https://encoredev.github.io/meeting-notes)**
This is the end result:
## Create your Encore application
Create a new app from the meeting-notes example. This will start you off with everything described in this tutorial:
```shell
$ encore app create my-app --example=meeting-notes
```
Before running the project locally, make sure you have [Docker](https://www.docker.com/products/docker-desktop/) installed and running. Docker is needed for Encore to create databases for locally running projects. Also, if you want to try the photo search functionality then you will need an API key from [pexels.com/api/](https://www.pexels.com/api/) (more on that below)
To run the backend locally:
```shell
$ cd you-app-name # replace with the app name you picked
$ encore run
```
You should see the following:
That means your local development backend is up and running! Encore takes care of setting up all the necessary infrastructure for your application, including databases. Encore also starts the local development dashboard which is a tool to help you move faster when you're developing new features.
To start the front-end, run the following commands in another terminal window:
```shell
$ cd you-app-name/frontend
$ npm install
$ npm run dev
```
You can now open http://localhost:5173/example-meeting-notes/ in your browser 🔥
## Storing and retrieving from an SQL database
Let's take a look at the backend code. There are essentially only three files of interest, let's start by looking at `note.go`. This file contains two endpoints and one interface, all standard Go code except for a few lines specific to Encore.
The `Note` type represents our data structure:
```go
type Note struct {
ID string `json:"id"`
Text string `json:"text"`
CoverURL string `json:"cover_url"`
}
```
Every note will have an `ID` (uuid that is created on the frontend), `Text` (Markdown text content), and `CoverURL` (background image URL).
The `SaveNote` function handles storing a meeting note:
```go
//encore:api public method=POST path=/note
func SaveNote(ctx context.Context, note *Note) (*Note, error) {
// Save the note to the database.
// If the note already exists (i.e. CONFLICT), we update the notes text and the cover URL.
_, err := sqldb.Exec(ctx, `
INSERT INTO note (id, text, cover_url) VALUES ($1, $2, $3)
ON CONFLICT (id) DO UPDATE SET text=$2, cover_url=$3
`, note.ID, note.Text, note.CoverURL)
// If there was an error saving to the database, then we return that error.
if err != nil {
return nil, err
}
// Otherwise, we return the note to indicate that the save was successful.
return note, nil
}
```
The comment above the function tells Encore that this is a public endpoint that should be reachable by POST on `/note`. The second argument to the function (`Note`) is the POST body and the function returns a `Note` and an `error` (a `nil` error means a 200 response).
The `GetNote` function takes care of fetching a meeting note from our database given an `id`:
```go
//encore:api public method=GET path=/note/:id
func GetNote(ctx context.Context, id string) (*Note, error) {
note := &Note{ID: id}
// We use the note ID to query the database for the note's text and cover URL.
err := sqldb.QueryRow(ctx, `
SELECT text, cover_url FROM note
WHERE id = $1
`, id).Scan(¬e.Text, ¬e.CoverURL)
// If the note doesn't exist, we return an error.
if err != nil {
return nil, err
}
// Otherwise, we return the note.
return note, nil
}
```
Here we have a public GET endpoint with a dynamic path parameter which is the `id` of the meeting note to fetch. The second argument, in this case, is the dynamic path parameter, a request to this endpoint will look like `/note/123-abc` where `id` will be set to `123-abc`.
Both `SaveNote` and `GetNote` makes use of a SQL database table named `note`, let's look at how that table is defined.
## Defining a SQL database
To create a SQL database using Encore we first create a folder named `migrations` and inside that folder a migration file named `1_create_tables.up.sql`. The file name is important (it must look something like `1_name.up.sql`). Our migration file is only five lines long and looks like this:
```sql
CREATE TABLE note (
id TEXT PRIMARY KEY,
text TEXT,
cover_url TEXT
);
```
When recognizing this file, Encore will create a `note` table with three columns `id`, `text` and `cover_url`. The `id` is the primary key, used to identify specific meeting notes.
## Making requests to a third-party API
Let's look at how we can use an Encore endpoint to proxy requests to a third-party service (in this example photo service [pexels.com](http://www.pexels.com/) but the idea would be the same for any other third-party API).
The file `pexels.go` only has one endpoint, `SearchPhoto`:
```go
//encore:api public method=GET path=/images/:query
func SearchPhoto(ctx context.Context, query string) (*SearchResponse, error) {
// Create a new http client to proxy the request to the Pexels API.
URL := "https://api.pexels.com/v1/search?query=" + query
client := &http.Client{}
req, _ := http.NewRequest("GET", URL, nil)
// Add authorization header to the req with the API key.
req.Header.Set("Authorization", secrets.PexelsApiKey)
// Make the request, and close the response body when we're done.
res, err := client.Do(req)
if err != nil {
return nil, err
}
defer res.Body.Close()
if res.StatusCode >= 400 {
return nil, fmt.Errorf("Pexels API error: %s", res.Status)
}
// Decode the data into the searchResponse struct.
var searchResponse *SearchResponse
err = json.NewDecoder(res.Body).Decode(&searchResponse)
if err != nil {
return nil, err
}
return searchResponse, nil
}
```
Again a GET endpoint with a dynamic path parameter which this time represents the query text we want to send to the Pexels API.
The type we use to decode the response from the Pexels API looks like this:
```go
type SearchResponse struct {
Photos []struct {
Id int `json:"id"`
Src struct {
Medium string `json:"medium"`
Landscape string `json:"landscape"`
} `json:"src"`
Alt string `json:"alt"`
} `json:"photos"`
}
```
We get a lot more data from Pexels but here we only pick the fields that we want to propagate to our frontend.
[Pexels API](https://www.pexels.com/api/) requires an API key, as most open APIs do. The API key is added as a header to the requests (from the `SearchPhoto` function above):
```go
req.Header.Set("Authorization", secrets.PexelsApiKey)
```
Here we could have hardcoded the API key but that would have made it readable for everyone with access to our repo. Instead, we made use of Encore's built-in [secrets management](https://encore.dev/docs/go/primitives/secrets). To set this secret, run the following command in your project folder and follow the prompt:
```shell
encore secret set --type dev,prod,local,pr PexelsApiKey
```
## Creating a request client
Encore is able to generate frontend [request clients](https://encore.dev/docs/go/cli/client-generation) (TypeScript or JavaScript). This means that you do not need to manually keep the request/response objects in sync on the frontend, huge time saver. To generate a client run:
```shell
$ encore gen client --output=./src/client.ts --env=
```
You are going to want to run this command quite often (whenever you make a change to your endpoints) so having it as an `npm` script is a good idea:
```json
{
...
"scripts": {
...
"generate-client:staging": "encore gen client --output=./src/client.ts --env=staging",
"generate-client:local": "encore gen client --output=./src/client.ts --env=local"
},
}
```
After that you are ready to use the request client in your code. Here is an example of calling the `GetNote` endpoint:
```tsx
import Client, { Environment, Local } from "src/client.ts";
// Making request to locally running backend...
const client = new Client(Local);
// or to a specific deployed environment
const client = new Client(Environment("staging"));
// Calling APIs as typesafe functions 🌟
const response = await client.note.GetNote("note-uuid");
console.log(response.id);
console.log(response.cover_url);
console.log(response.text);
```
## Deploying the backend to the cloud
It’s deploy time! To get your backend deployed in the cloud all you need to do is to commit your code and push it to the `encore` remote:
```shell
$ git add -A .
$ git commit -m 'Initial commit'
$ git push encore
```
When running `git push encore` you will get a link to the Encore Cloud dashboard where you can view the deploy for your app and after about a minute you have a backend running in the cloud ☁️
## Hosting the frontend
The frontend can be deployed to any static site hosting platform. The example project is pre-configured to deploy the frontend to [GitHub Pages](https://docs.github.com/en/pages/getting-started-with-github-pages/creating-a-github-pages-site). Take a look at `.github/workflows/node.yml` to see the GitHub actions workflow being triggered on new commits to the repo:
```yaml
name: Build and Deploy
on: [push]
permissions:
contents: write
jobs:
build-and-deploy:
concurrency: ci-${{ github.ref }}
runs-on: ubuntu-latest
defaults:
run:
working-directory: frontend
steps:
- name: Checkout 🛎️
uses: actions/checkout@v3
- name: Use Node.js
uses: actions/setup-node@v3
with:
node-version: "16.15.1"
- name: Install and Build 🔧
run: |
npm install
npm run build
- name: Deploy 🚀
uses: JamesIves/github-pages-deploy-action@v4.3.3
with:
branch: gh-pages
folder: frontend/dist
```
The interesting part is towards the bottom where we build the frontend code and make use of the [github-pages-deploy-action](https://github.com/JamesIves/github-pages-deploy-action) step to automatically make a new commit with the compiled frontend code to a `gh-pages` branch.
**Steps to deploy to GitHub pages:**
1. Create a repo on GitHub
2. In the `vite.config.js` file, set the `base` property to the name of your repo:
```yaml
base: "/my-repo-name/",
```
1. Push your code to GitHub and wait for the GitHub actions workflow to finish.
2. Go to _Settings_ → _Pages_ for your repo on GitHub and set _Branch_ to `gh-pages`.
## Celebrate with fireworks
Now that your app is running in the cloud, let's celebrate with some fireworks:
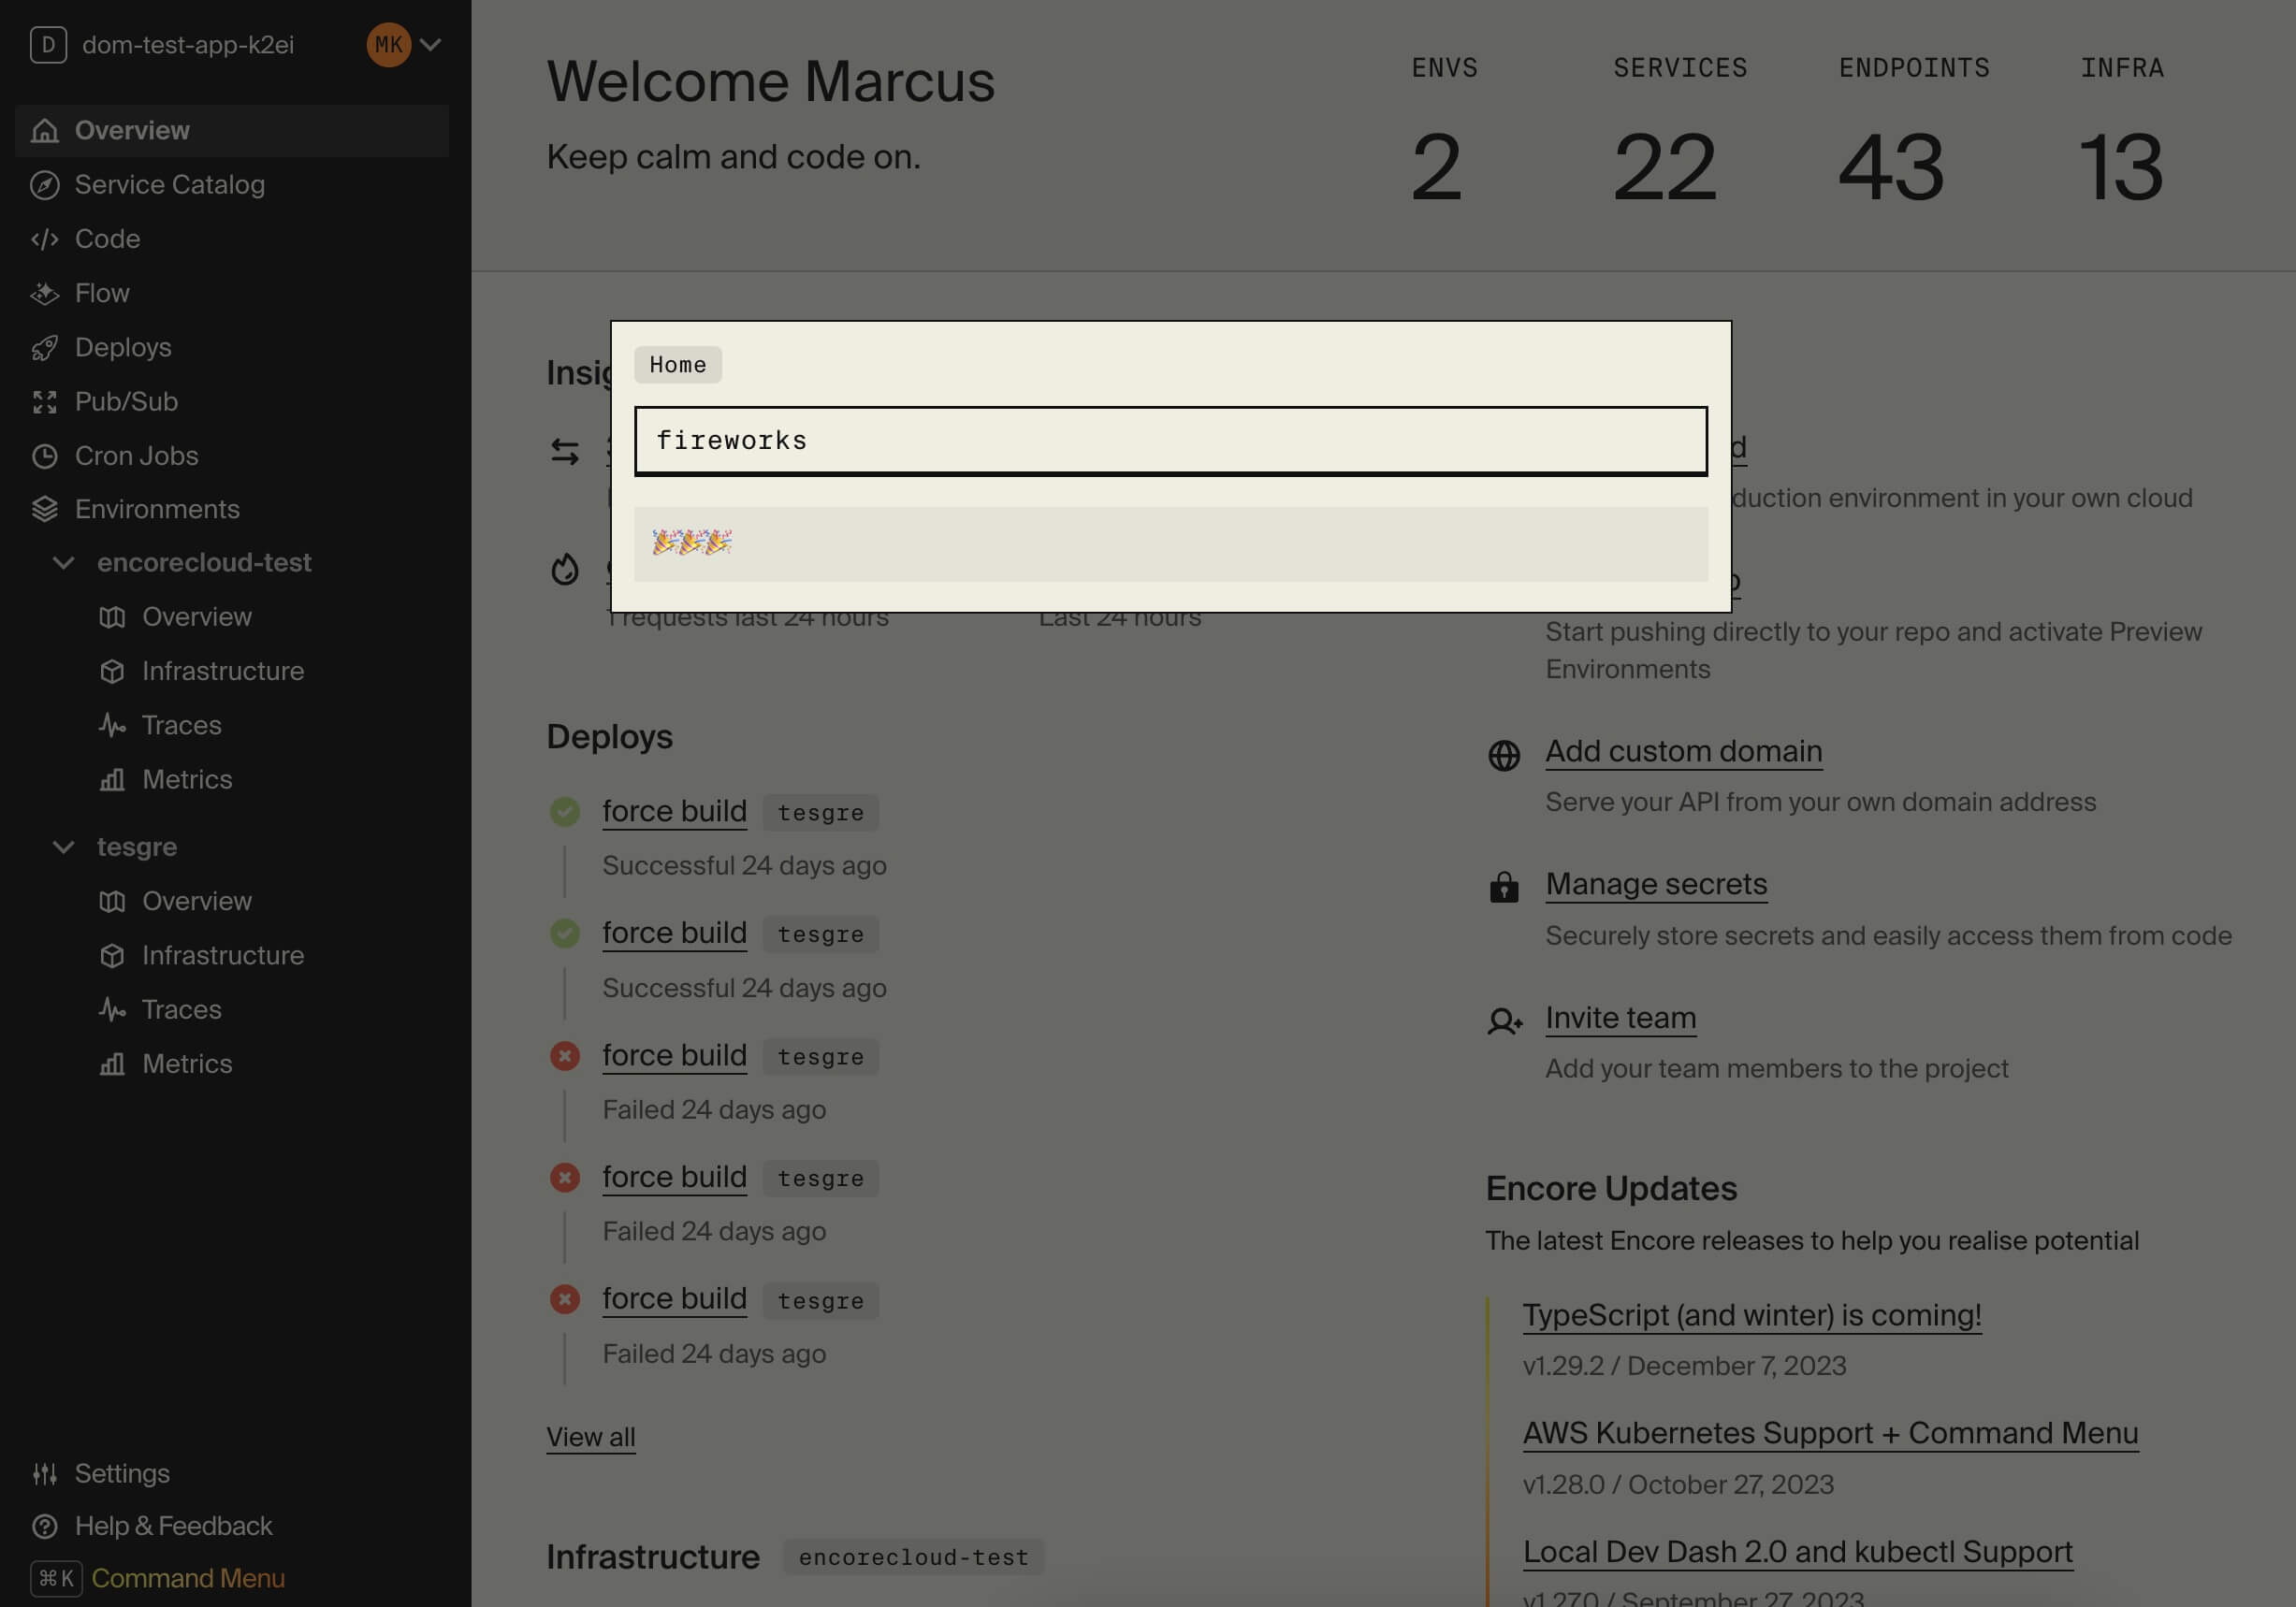
🥐 In the Cloud Dashboard, open the Command Menu by pressing **Cmd + K** (Mac) or **Ctrl + K** (Windows/Linux).
_From here you can easily access all Cloud Dashboard features and for example jump straight to specific services in the Service Catalog or view Traces for specific endpoints._
🥐 Type `fireworks` in the Command Menu and press enter. Sit back and enjoy the show!
## Wrapping up
You’ve learned how to build and deploy a Go backend using Encore, store data in an SQL database, and make API calls to an external service. All of this in under 100 lines of code.